386SX PC Restoration

|

|
|
|
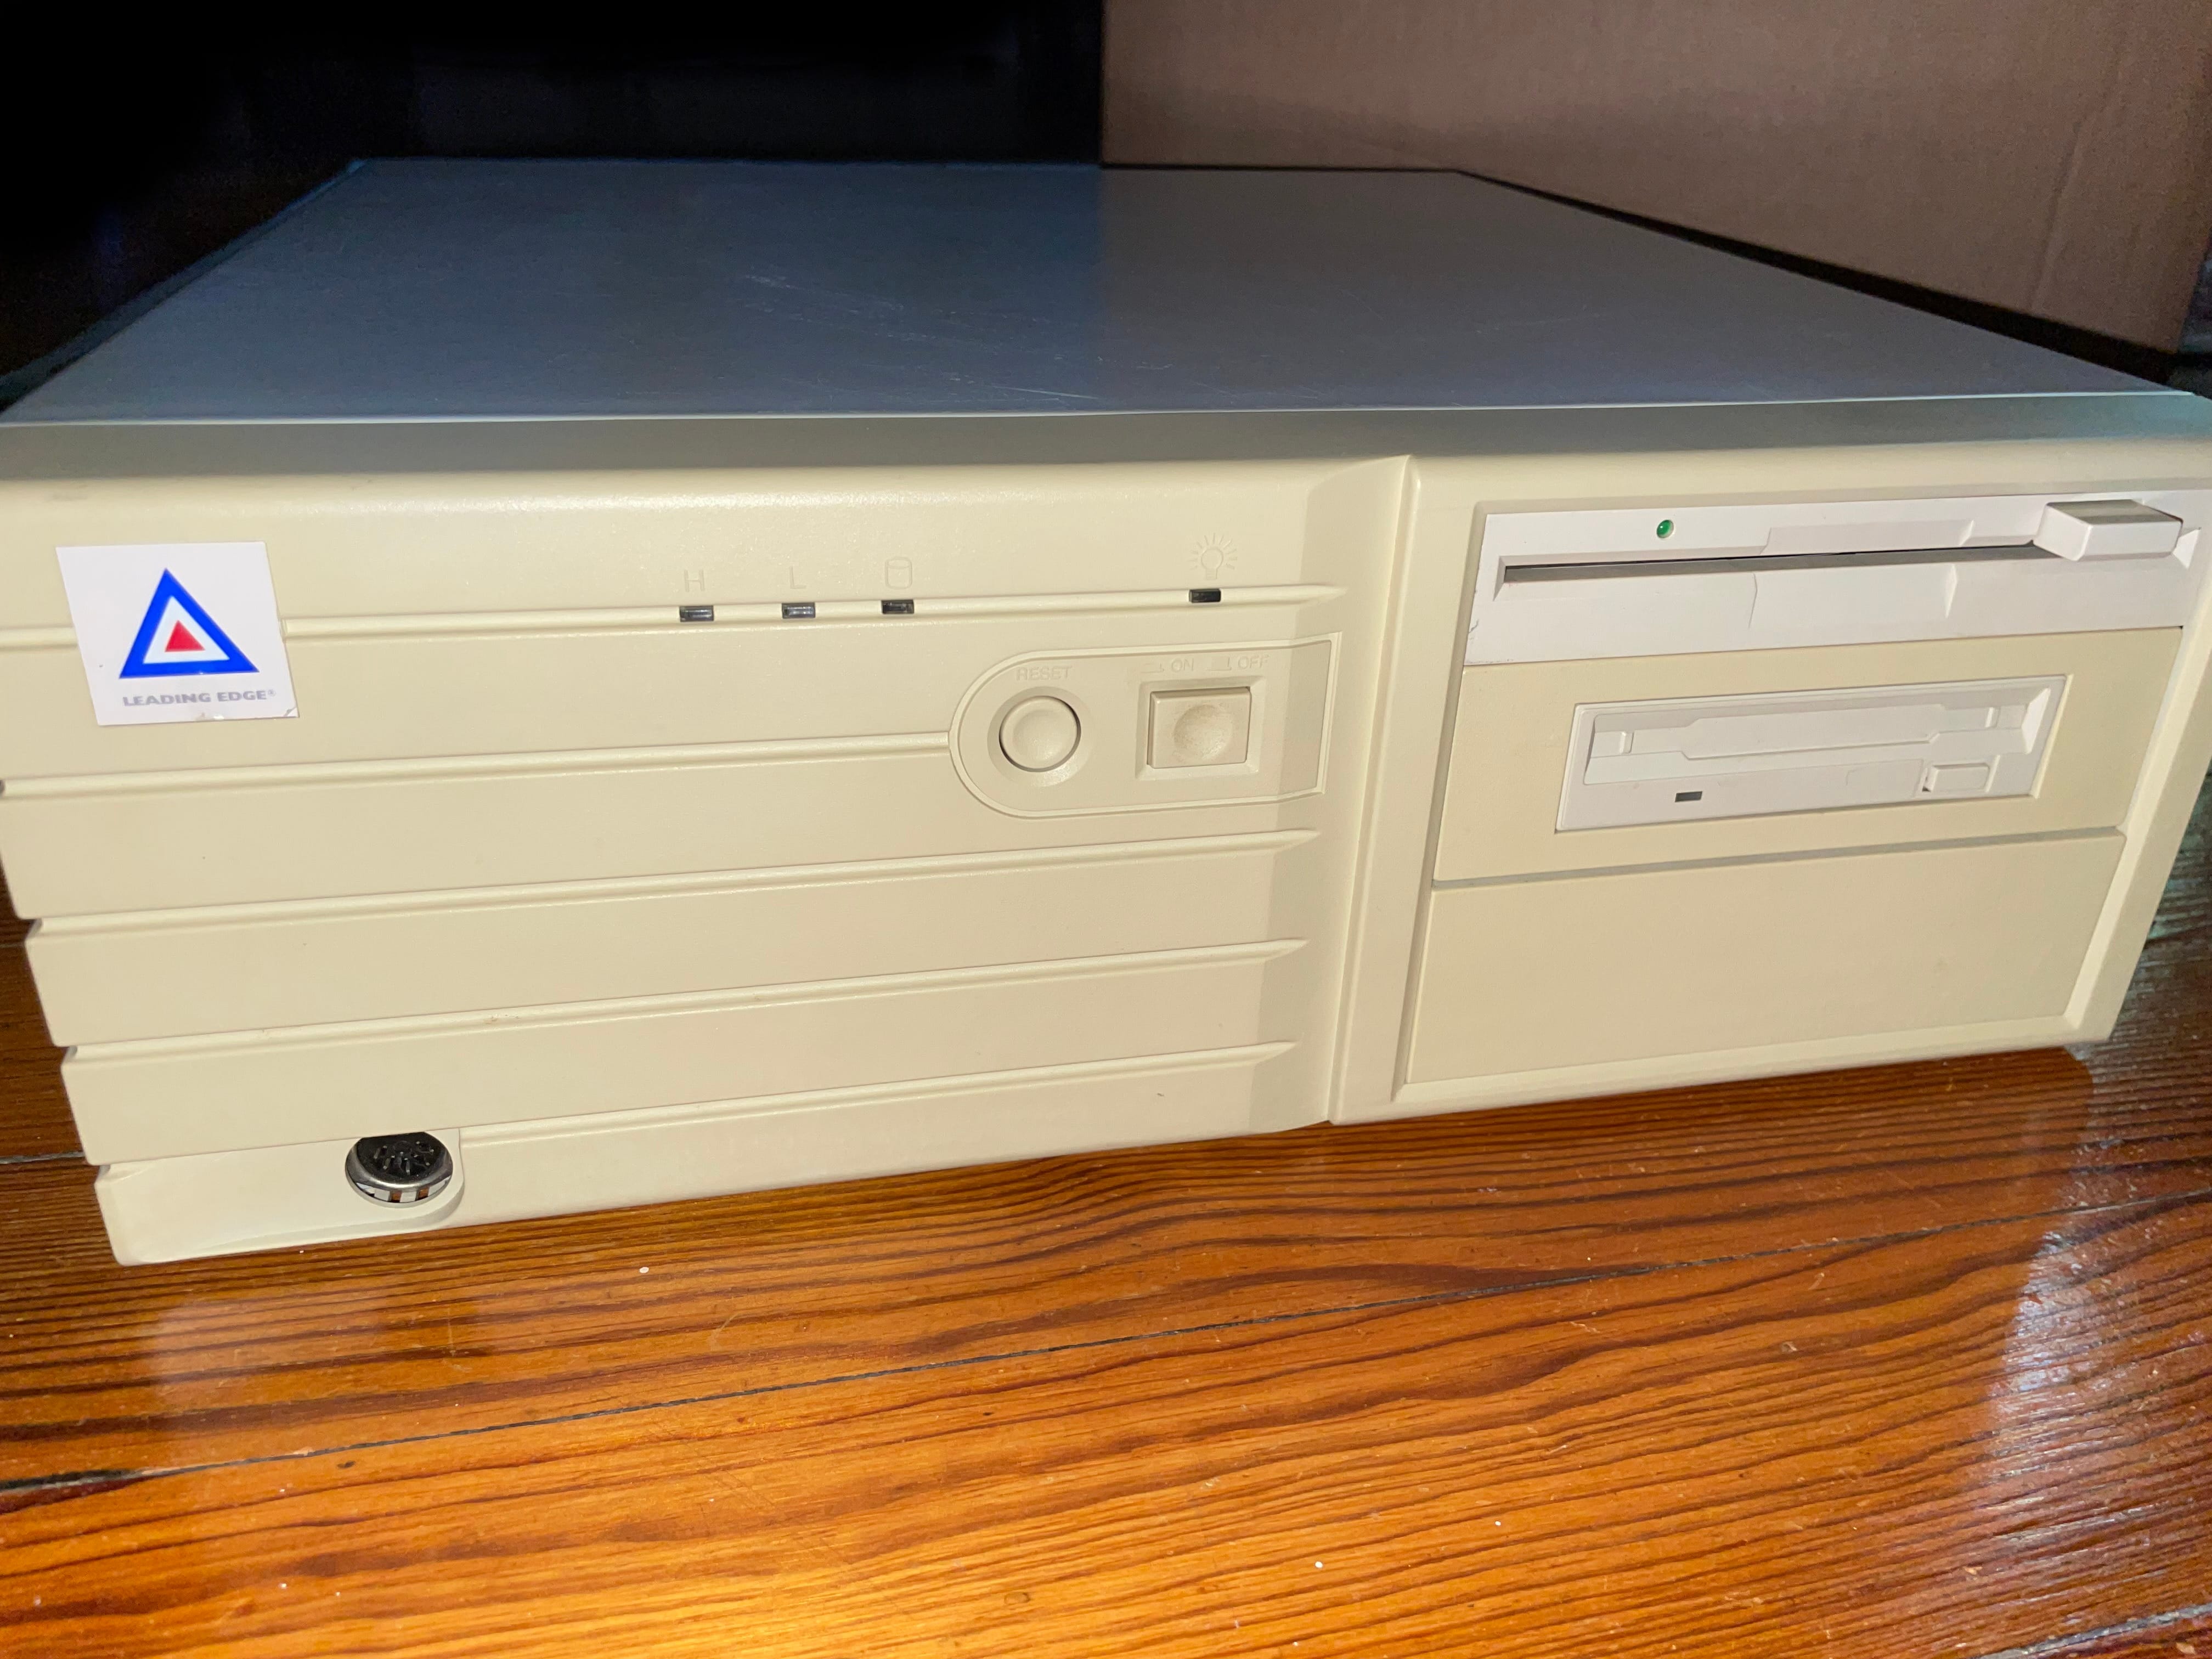
The Leading Edge 386 SX PC was received from the seller in a non‐working condition. The case was in fairly good condition with no rust but some yellowing on the front plastics. Next step was to open the case, insert the post analyzer card and power on to see what happens. |
|
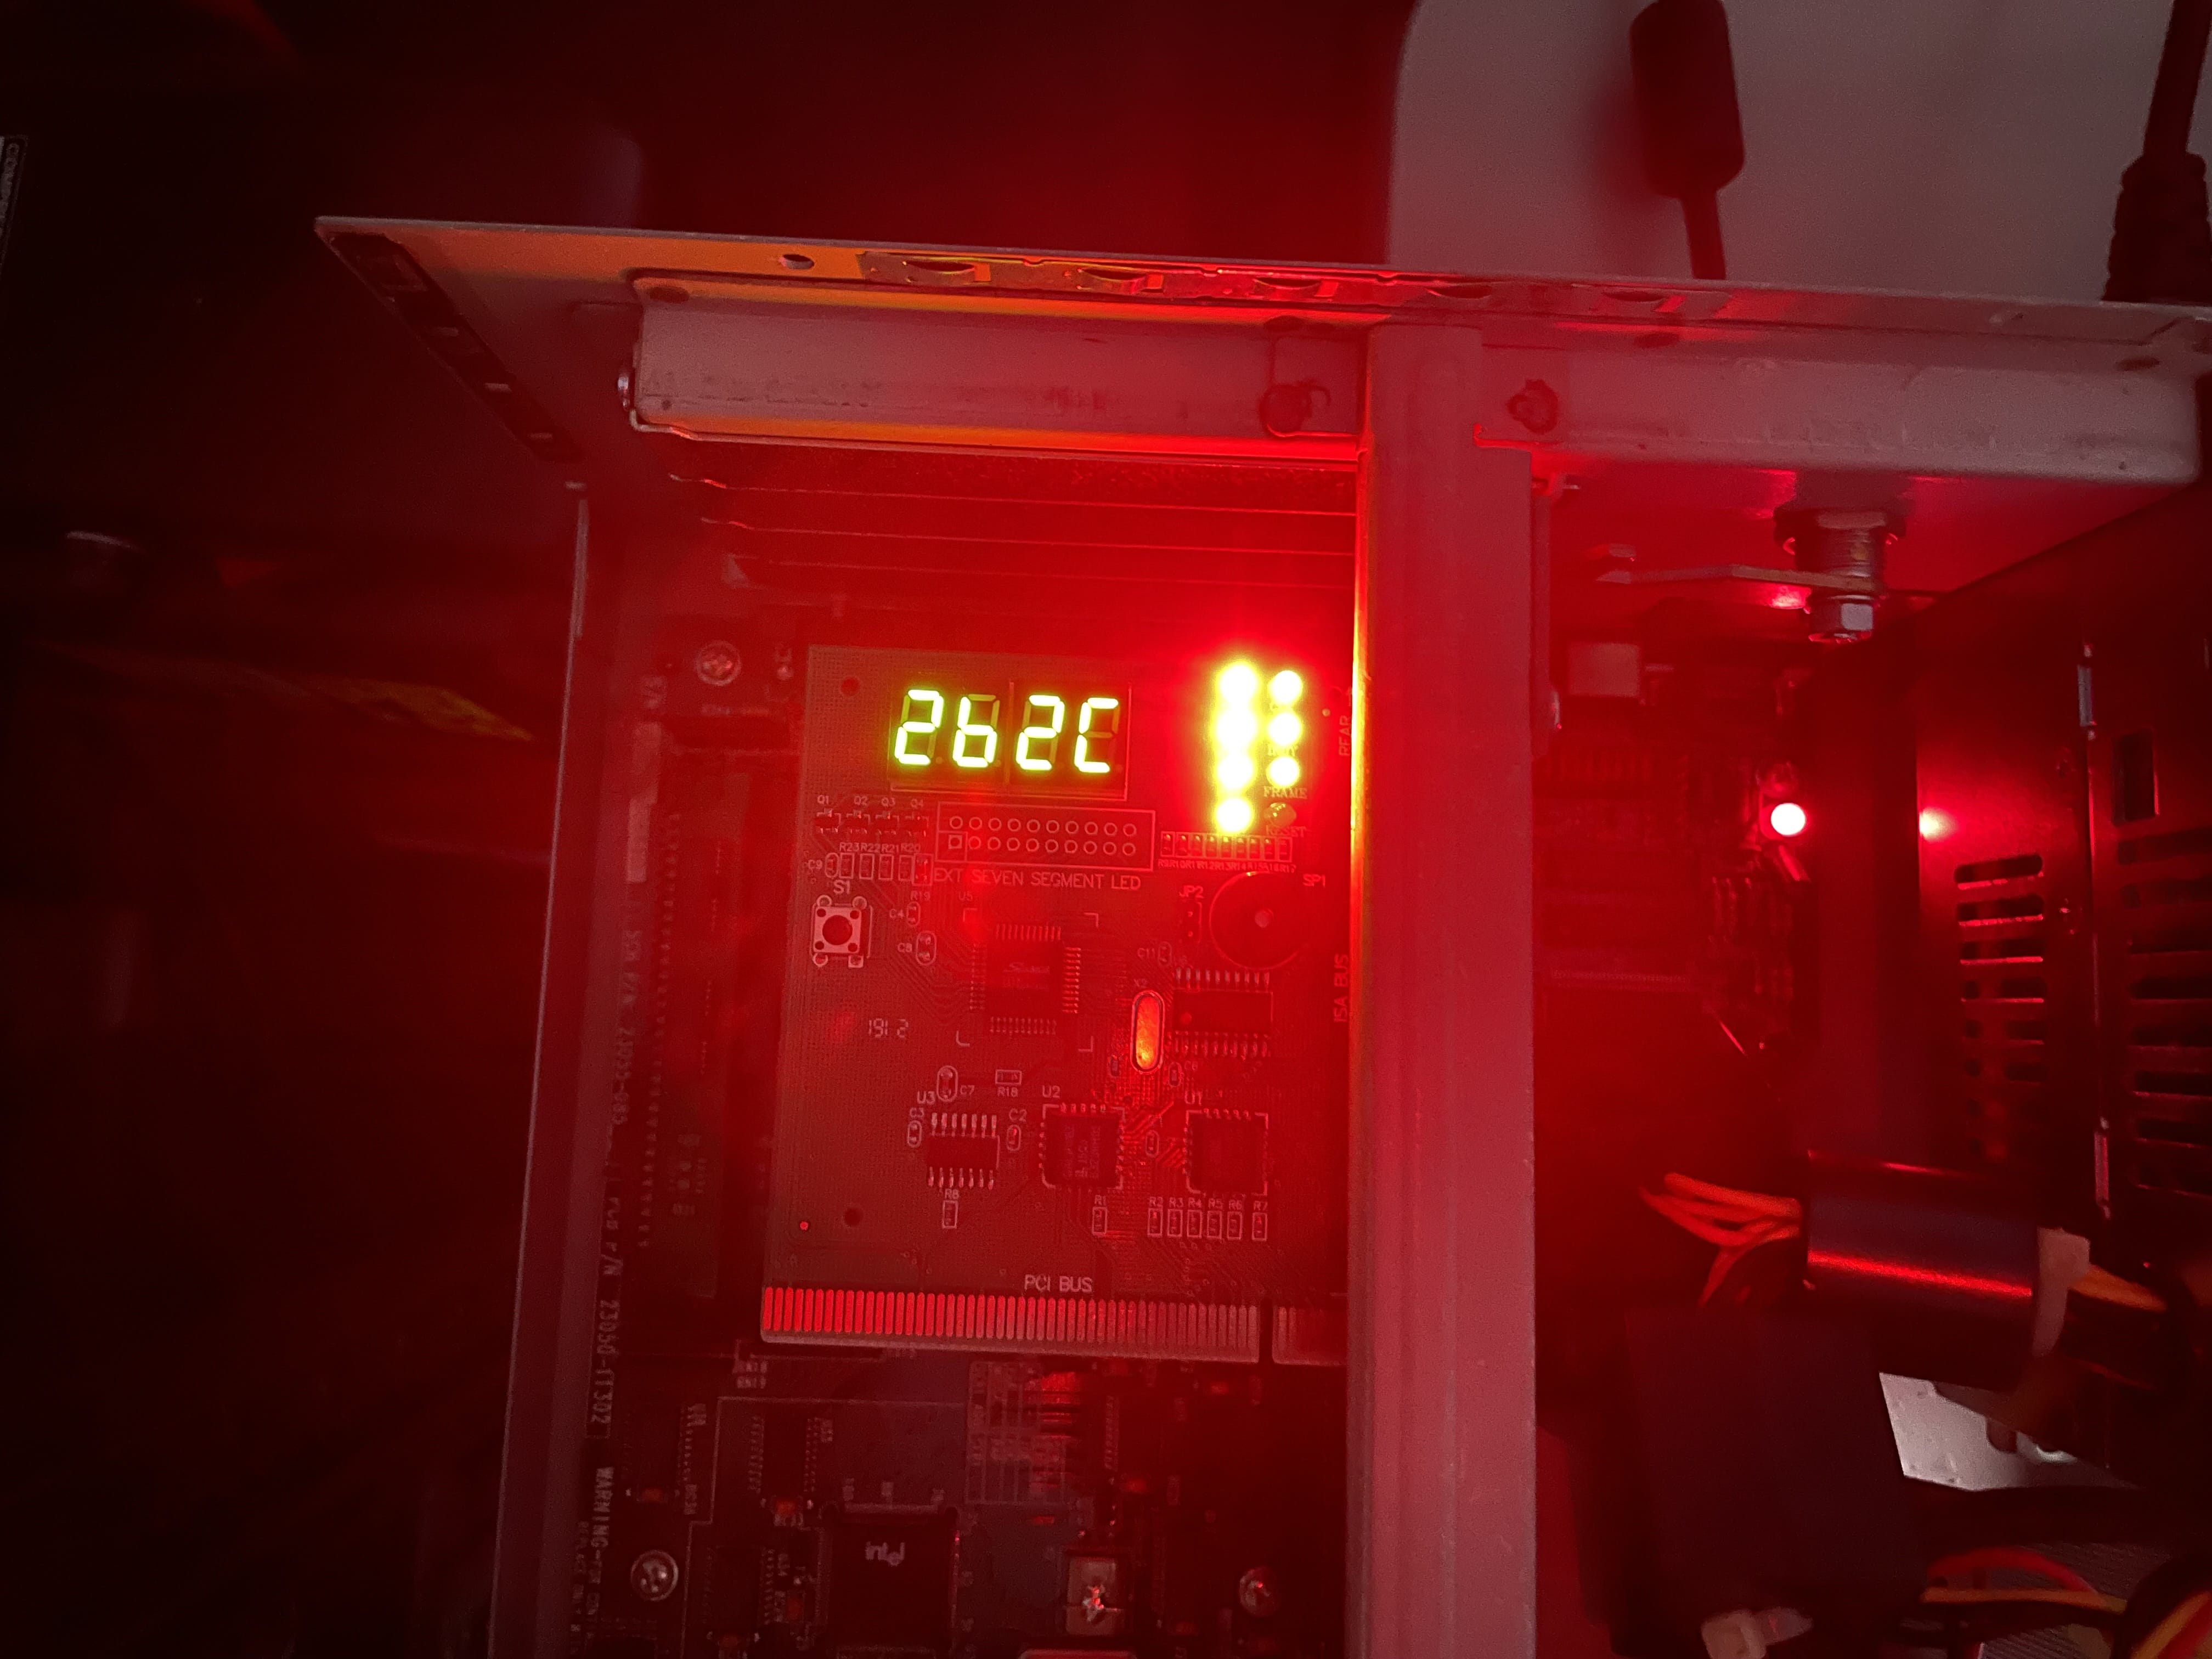
The computer would power on and the post analyzer indicated that there was CPU activity with the BIOS being accessed. Several POST codes were displayed with the system pausing on 26‐2C and emitting one long beep followed by one short beep. According to Phoenix BIOS codes, this indicates a RAM failure. Pulling the RAM sticks and cleaning the RAM sockets and RAM stick contacts with DeOxit cleared the error. |
|
|
|
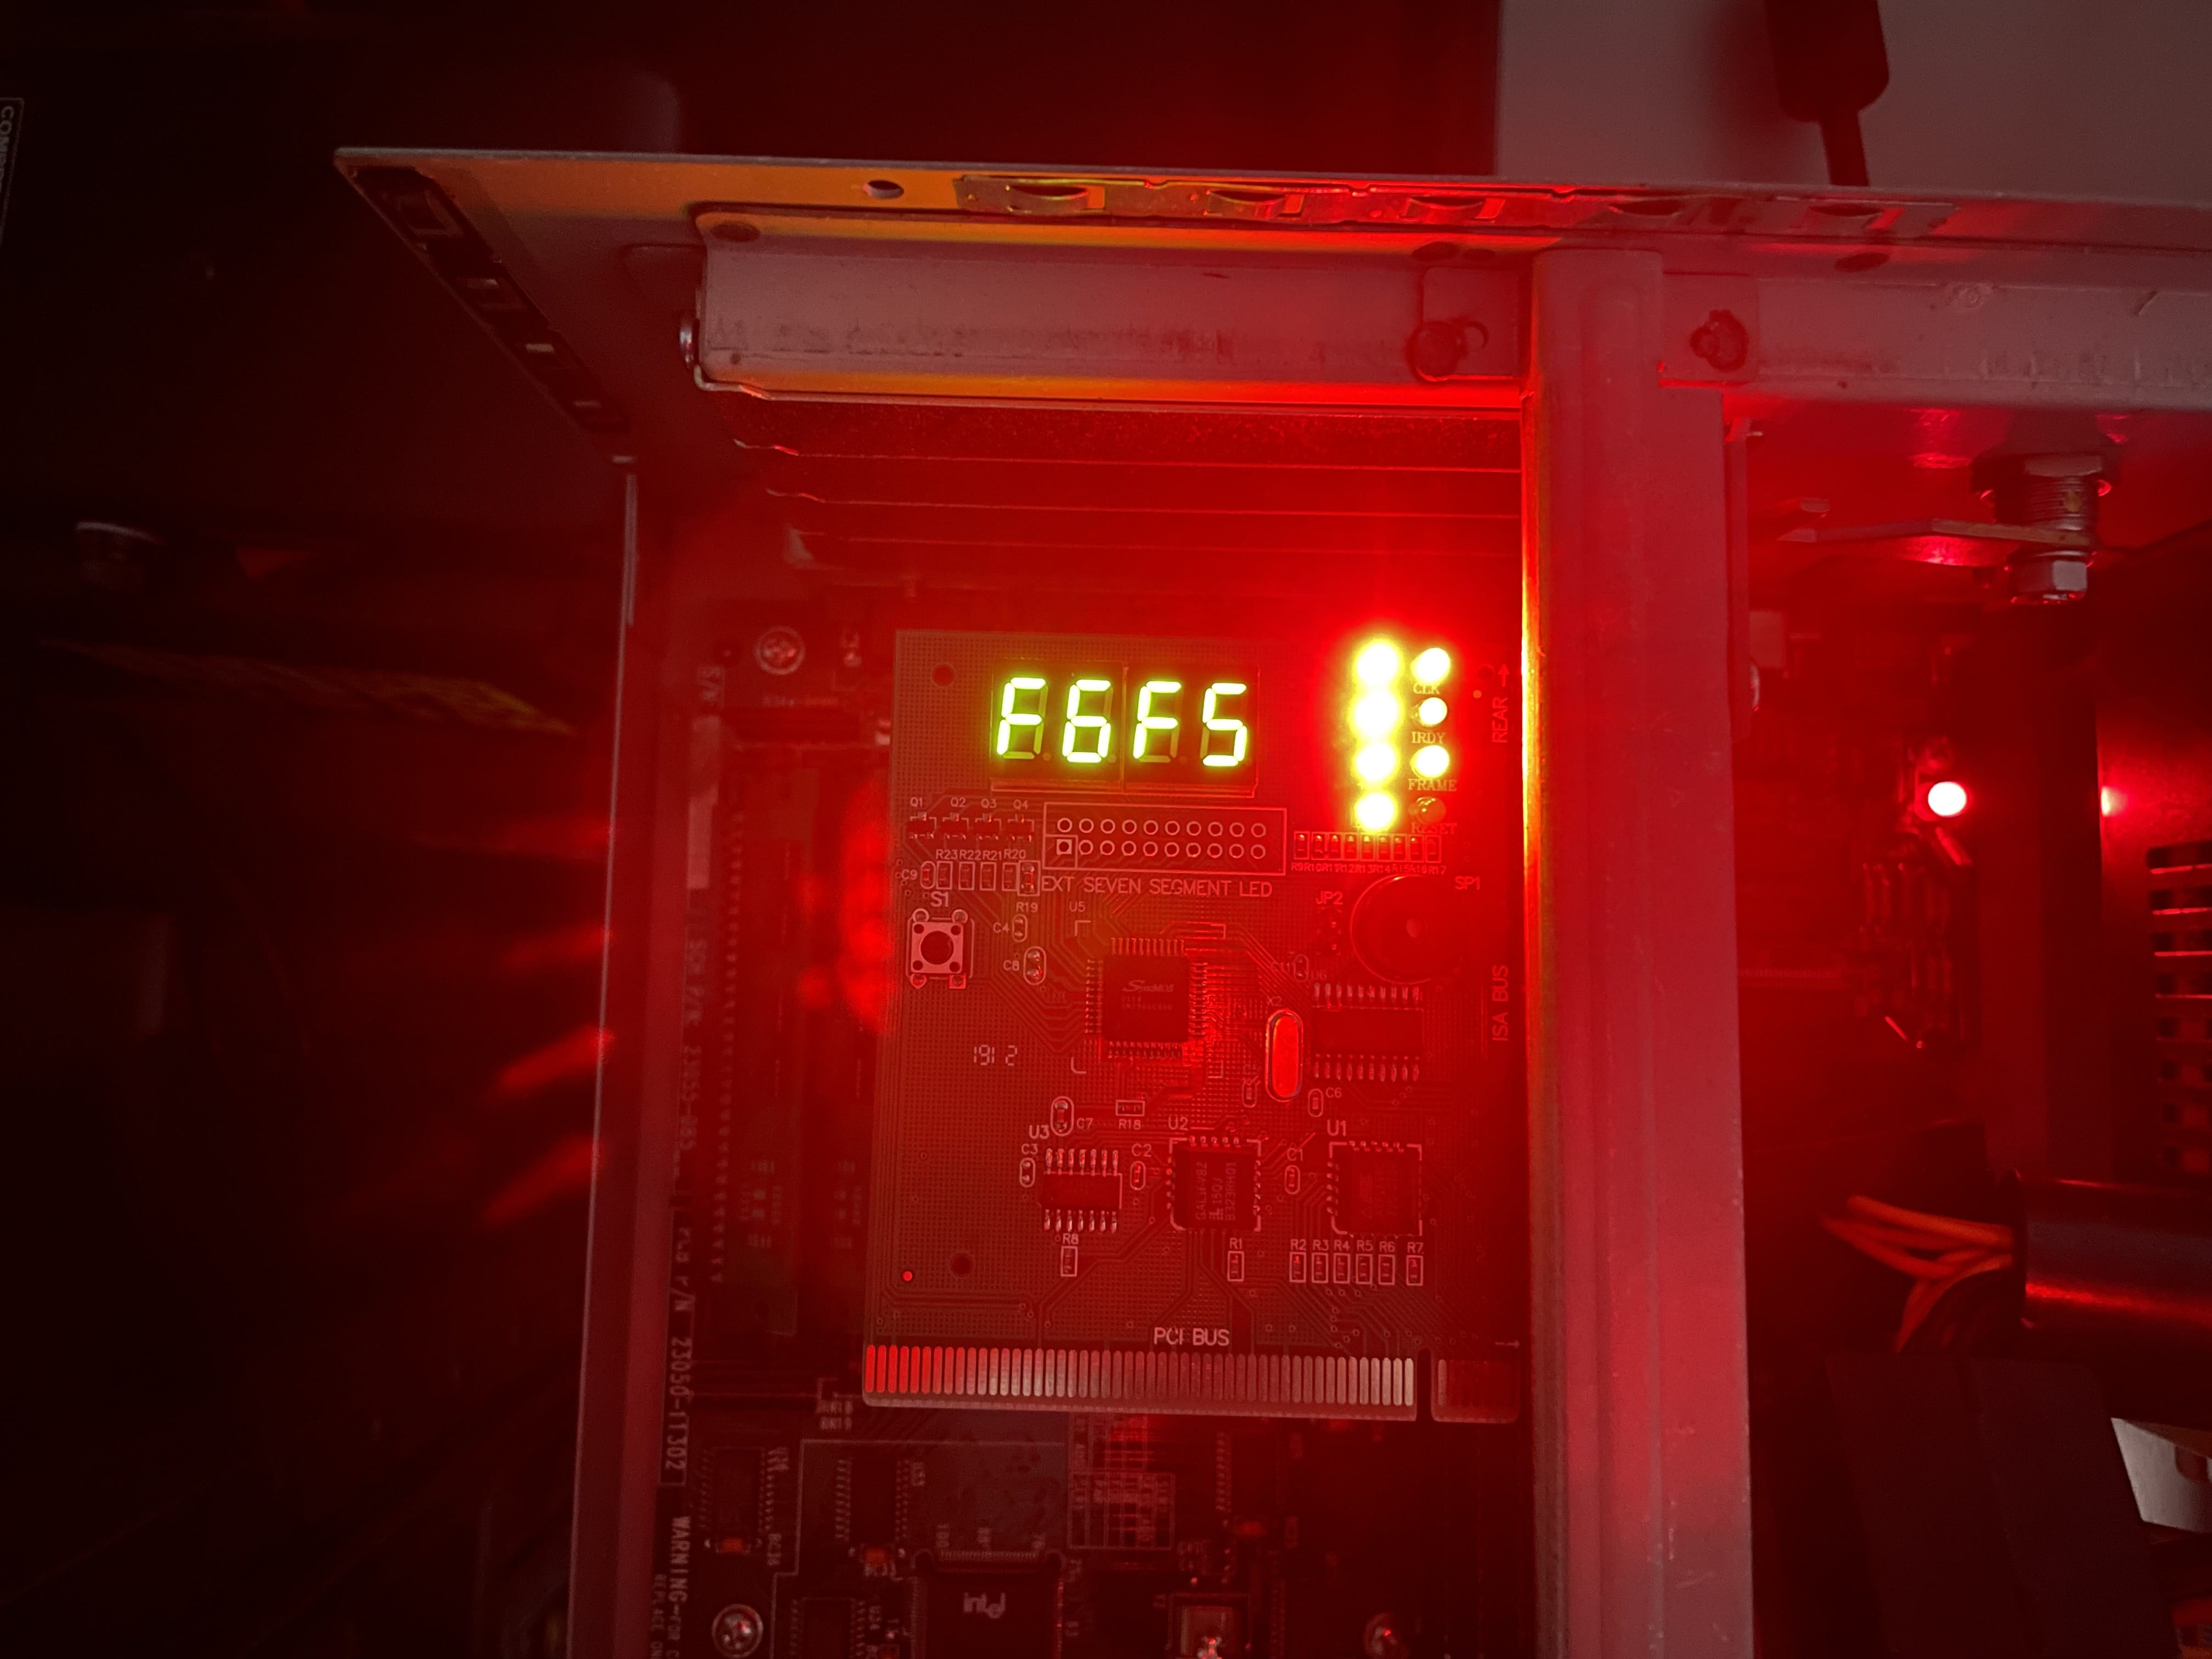
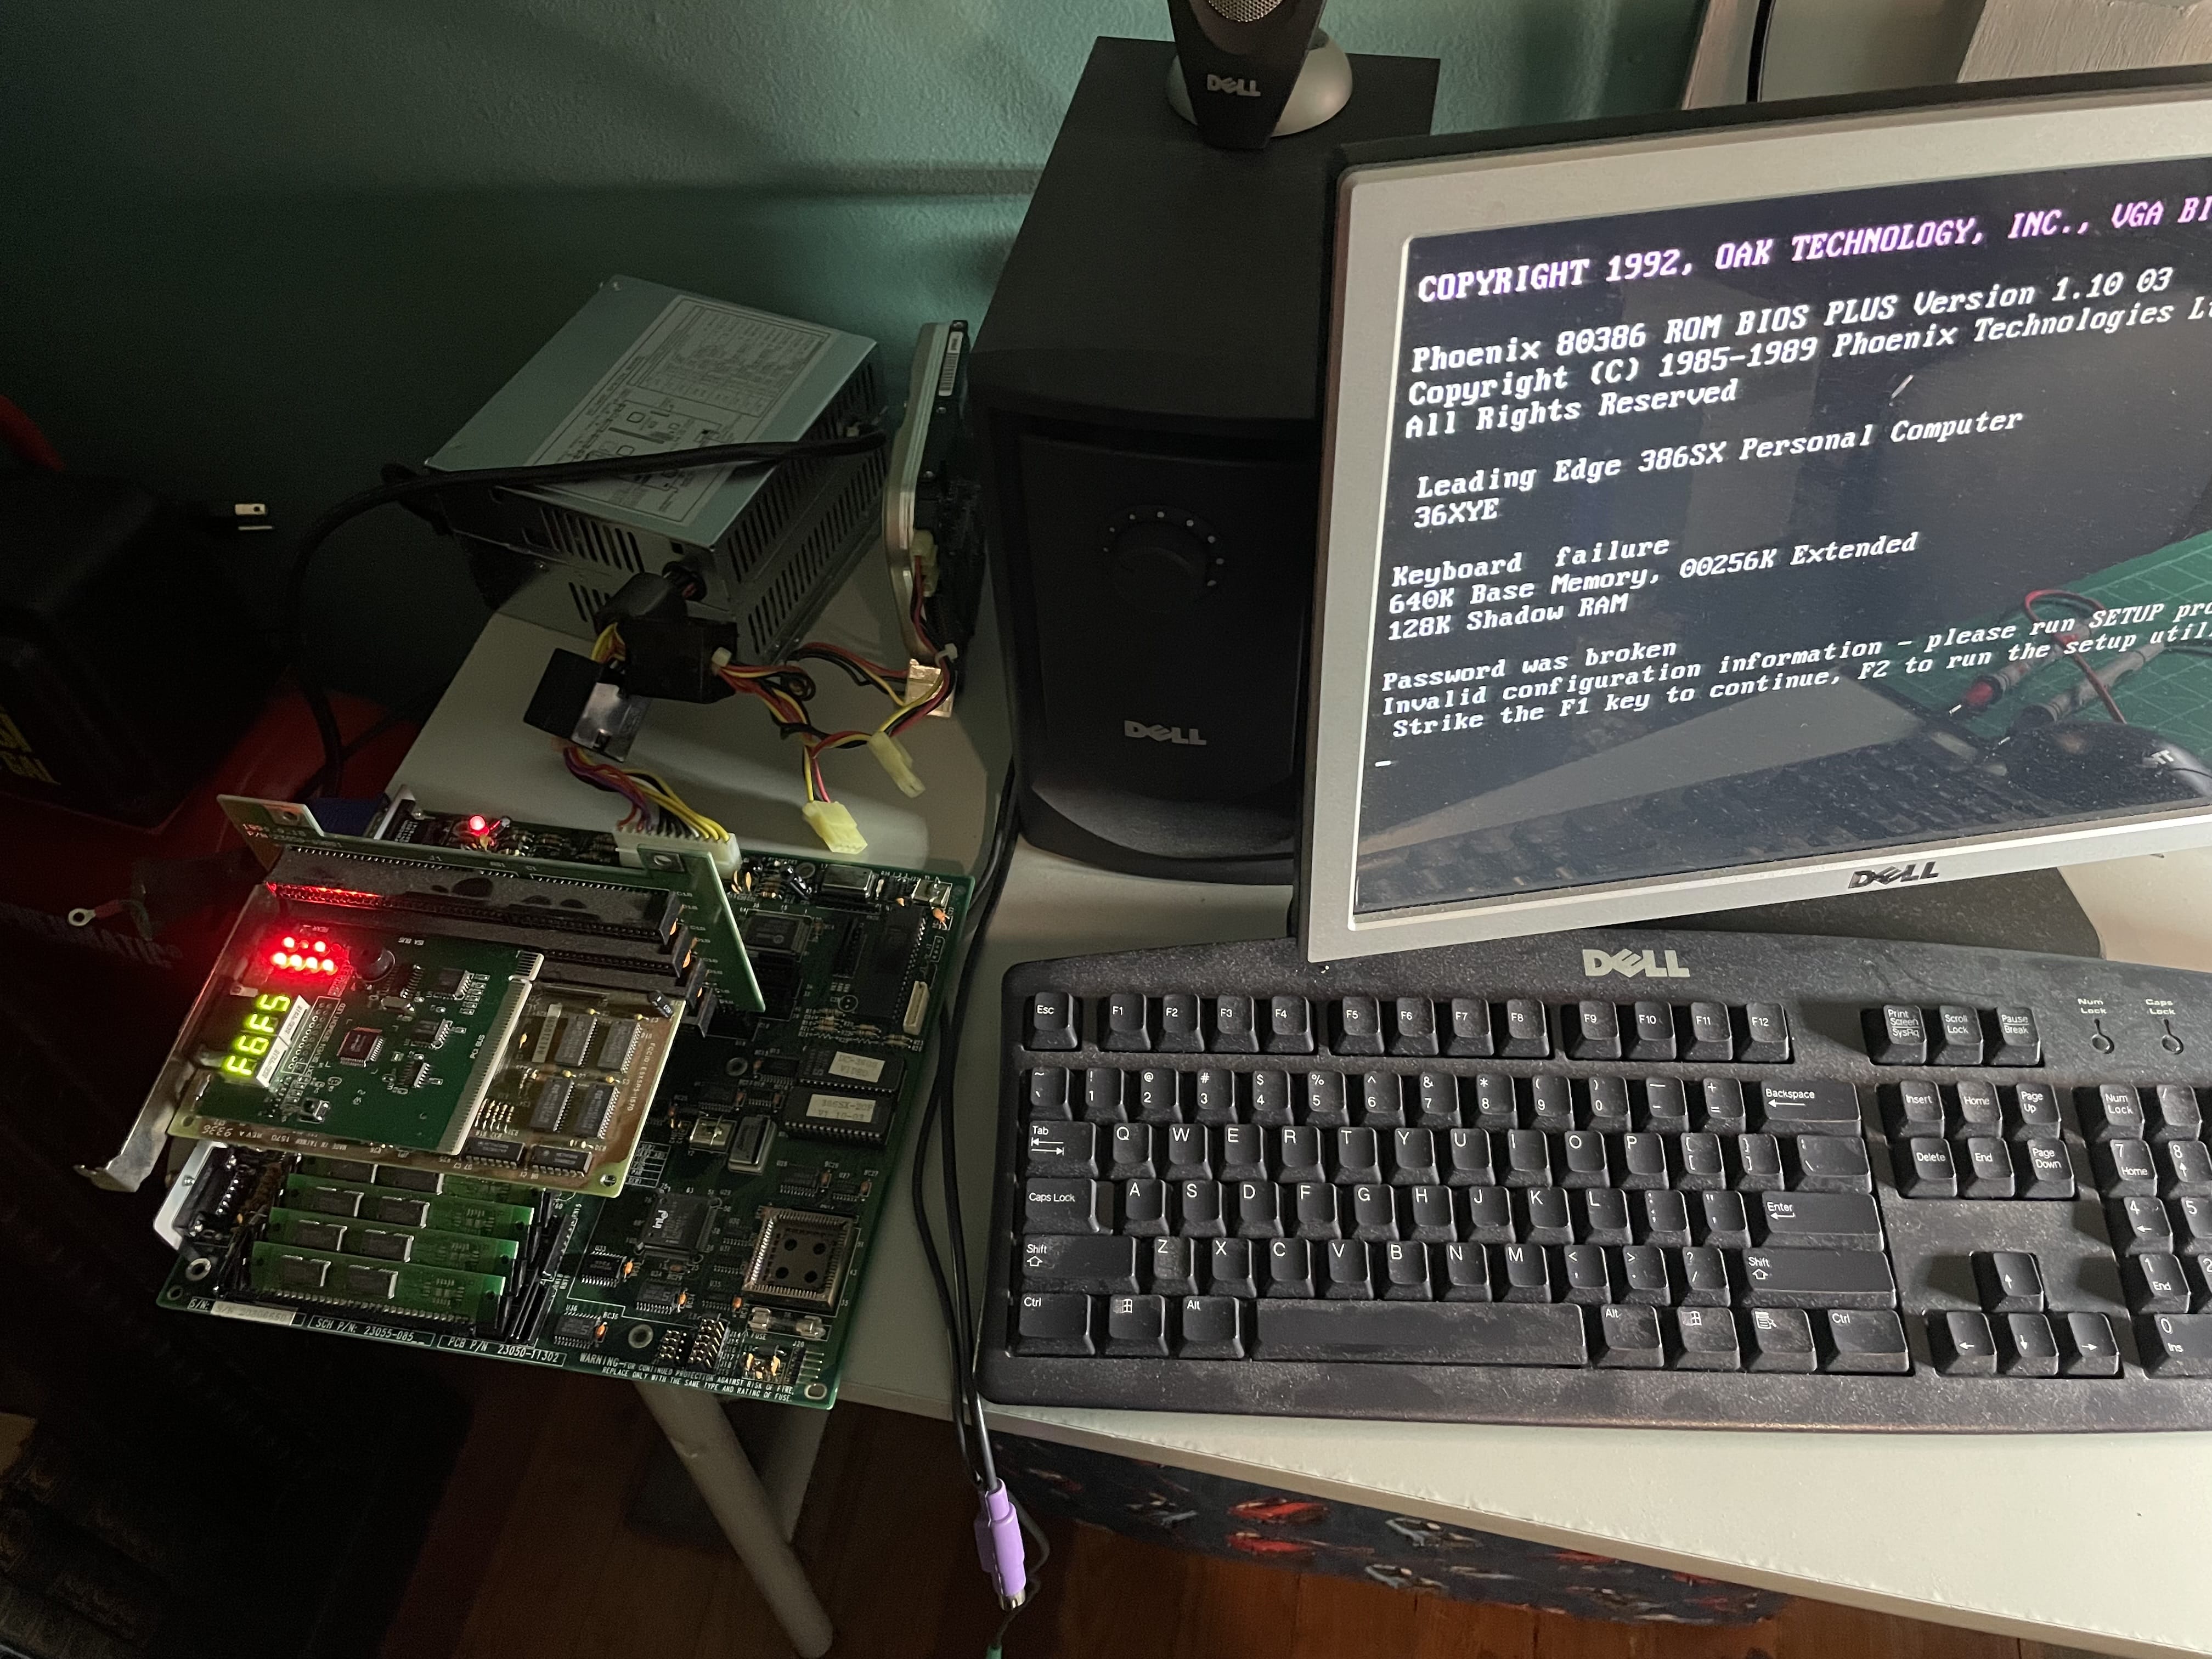
The system would then proceed with the POST and ultimately fail to complete the POST halting at F6‐F5 post code. Phoenix indicates code F6 to be "Boot to mini DOS" and F5 to be "Clear Huge Segment". I'm not sure what those codes mean, but the best information that I could find is that F5 is clearing the CMOS which then requires the user to re‐enter system configurations in the BIOS interface. |
|
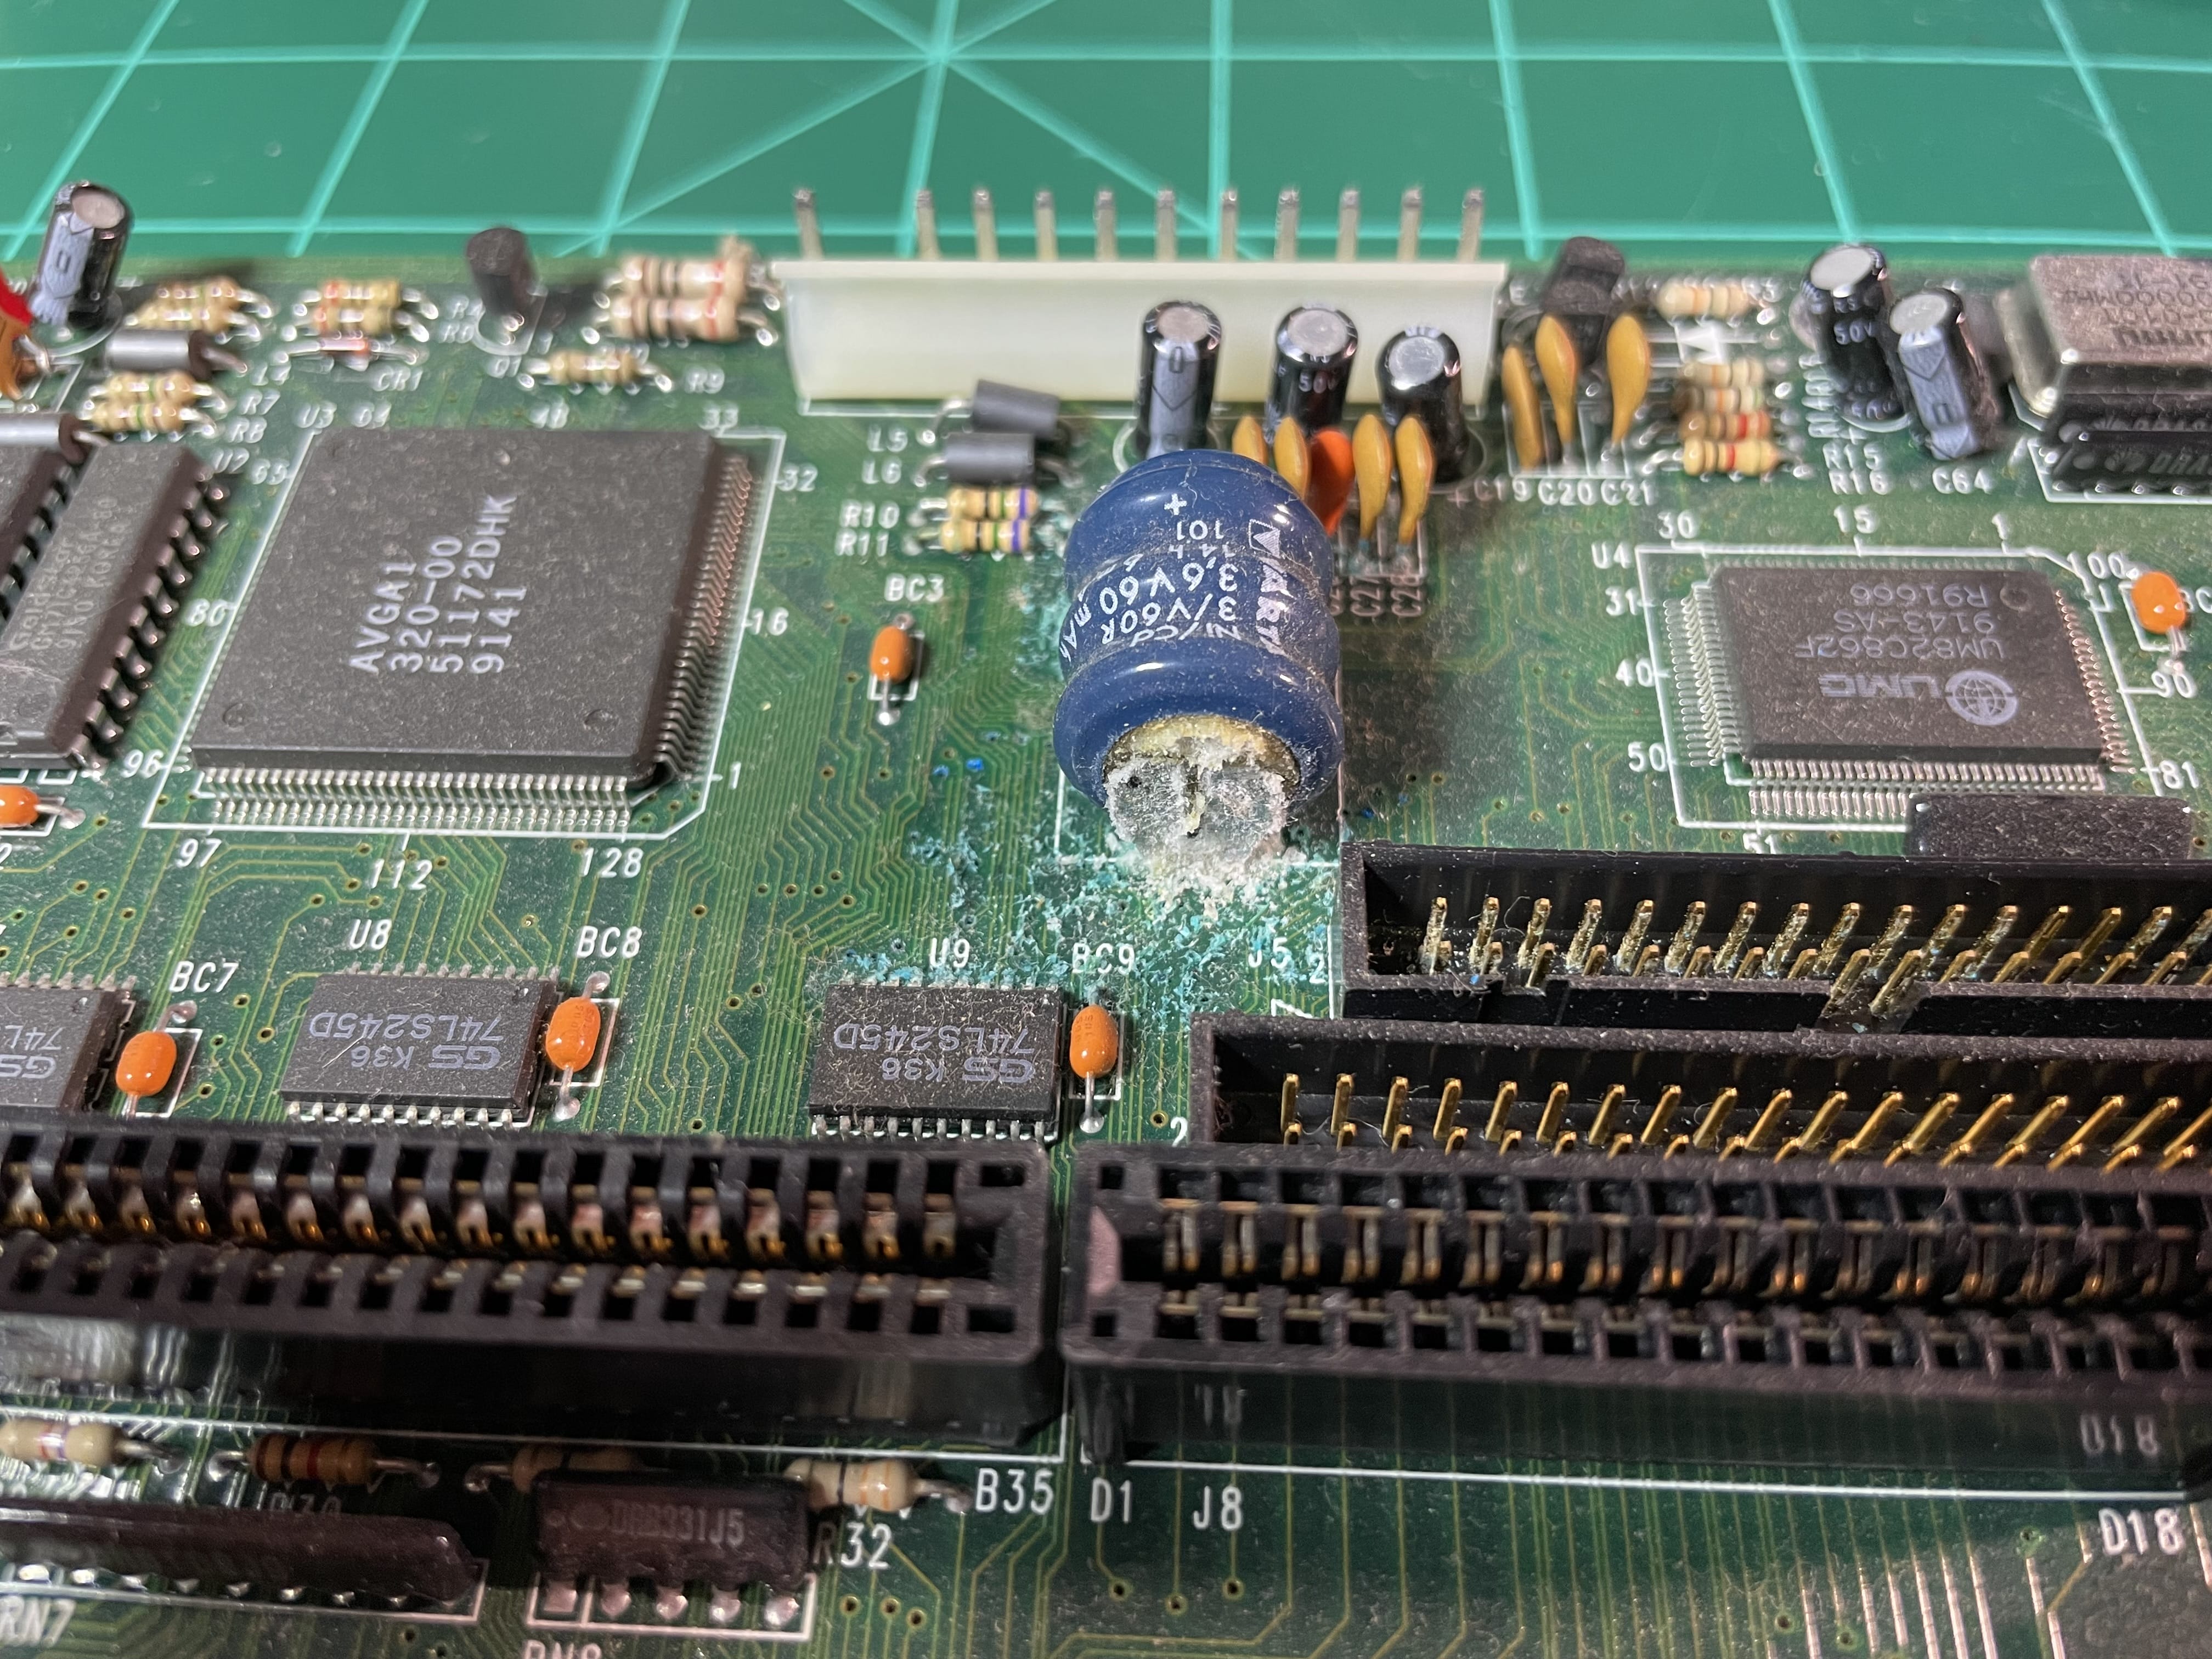
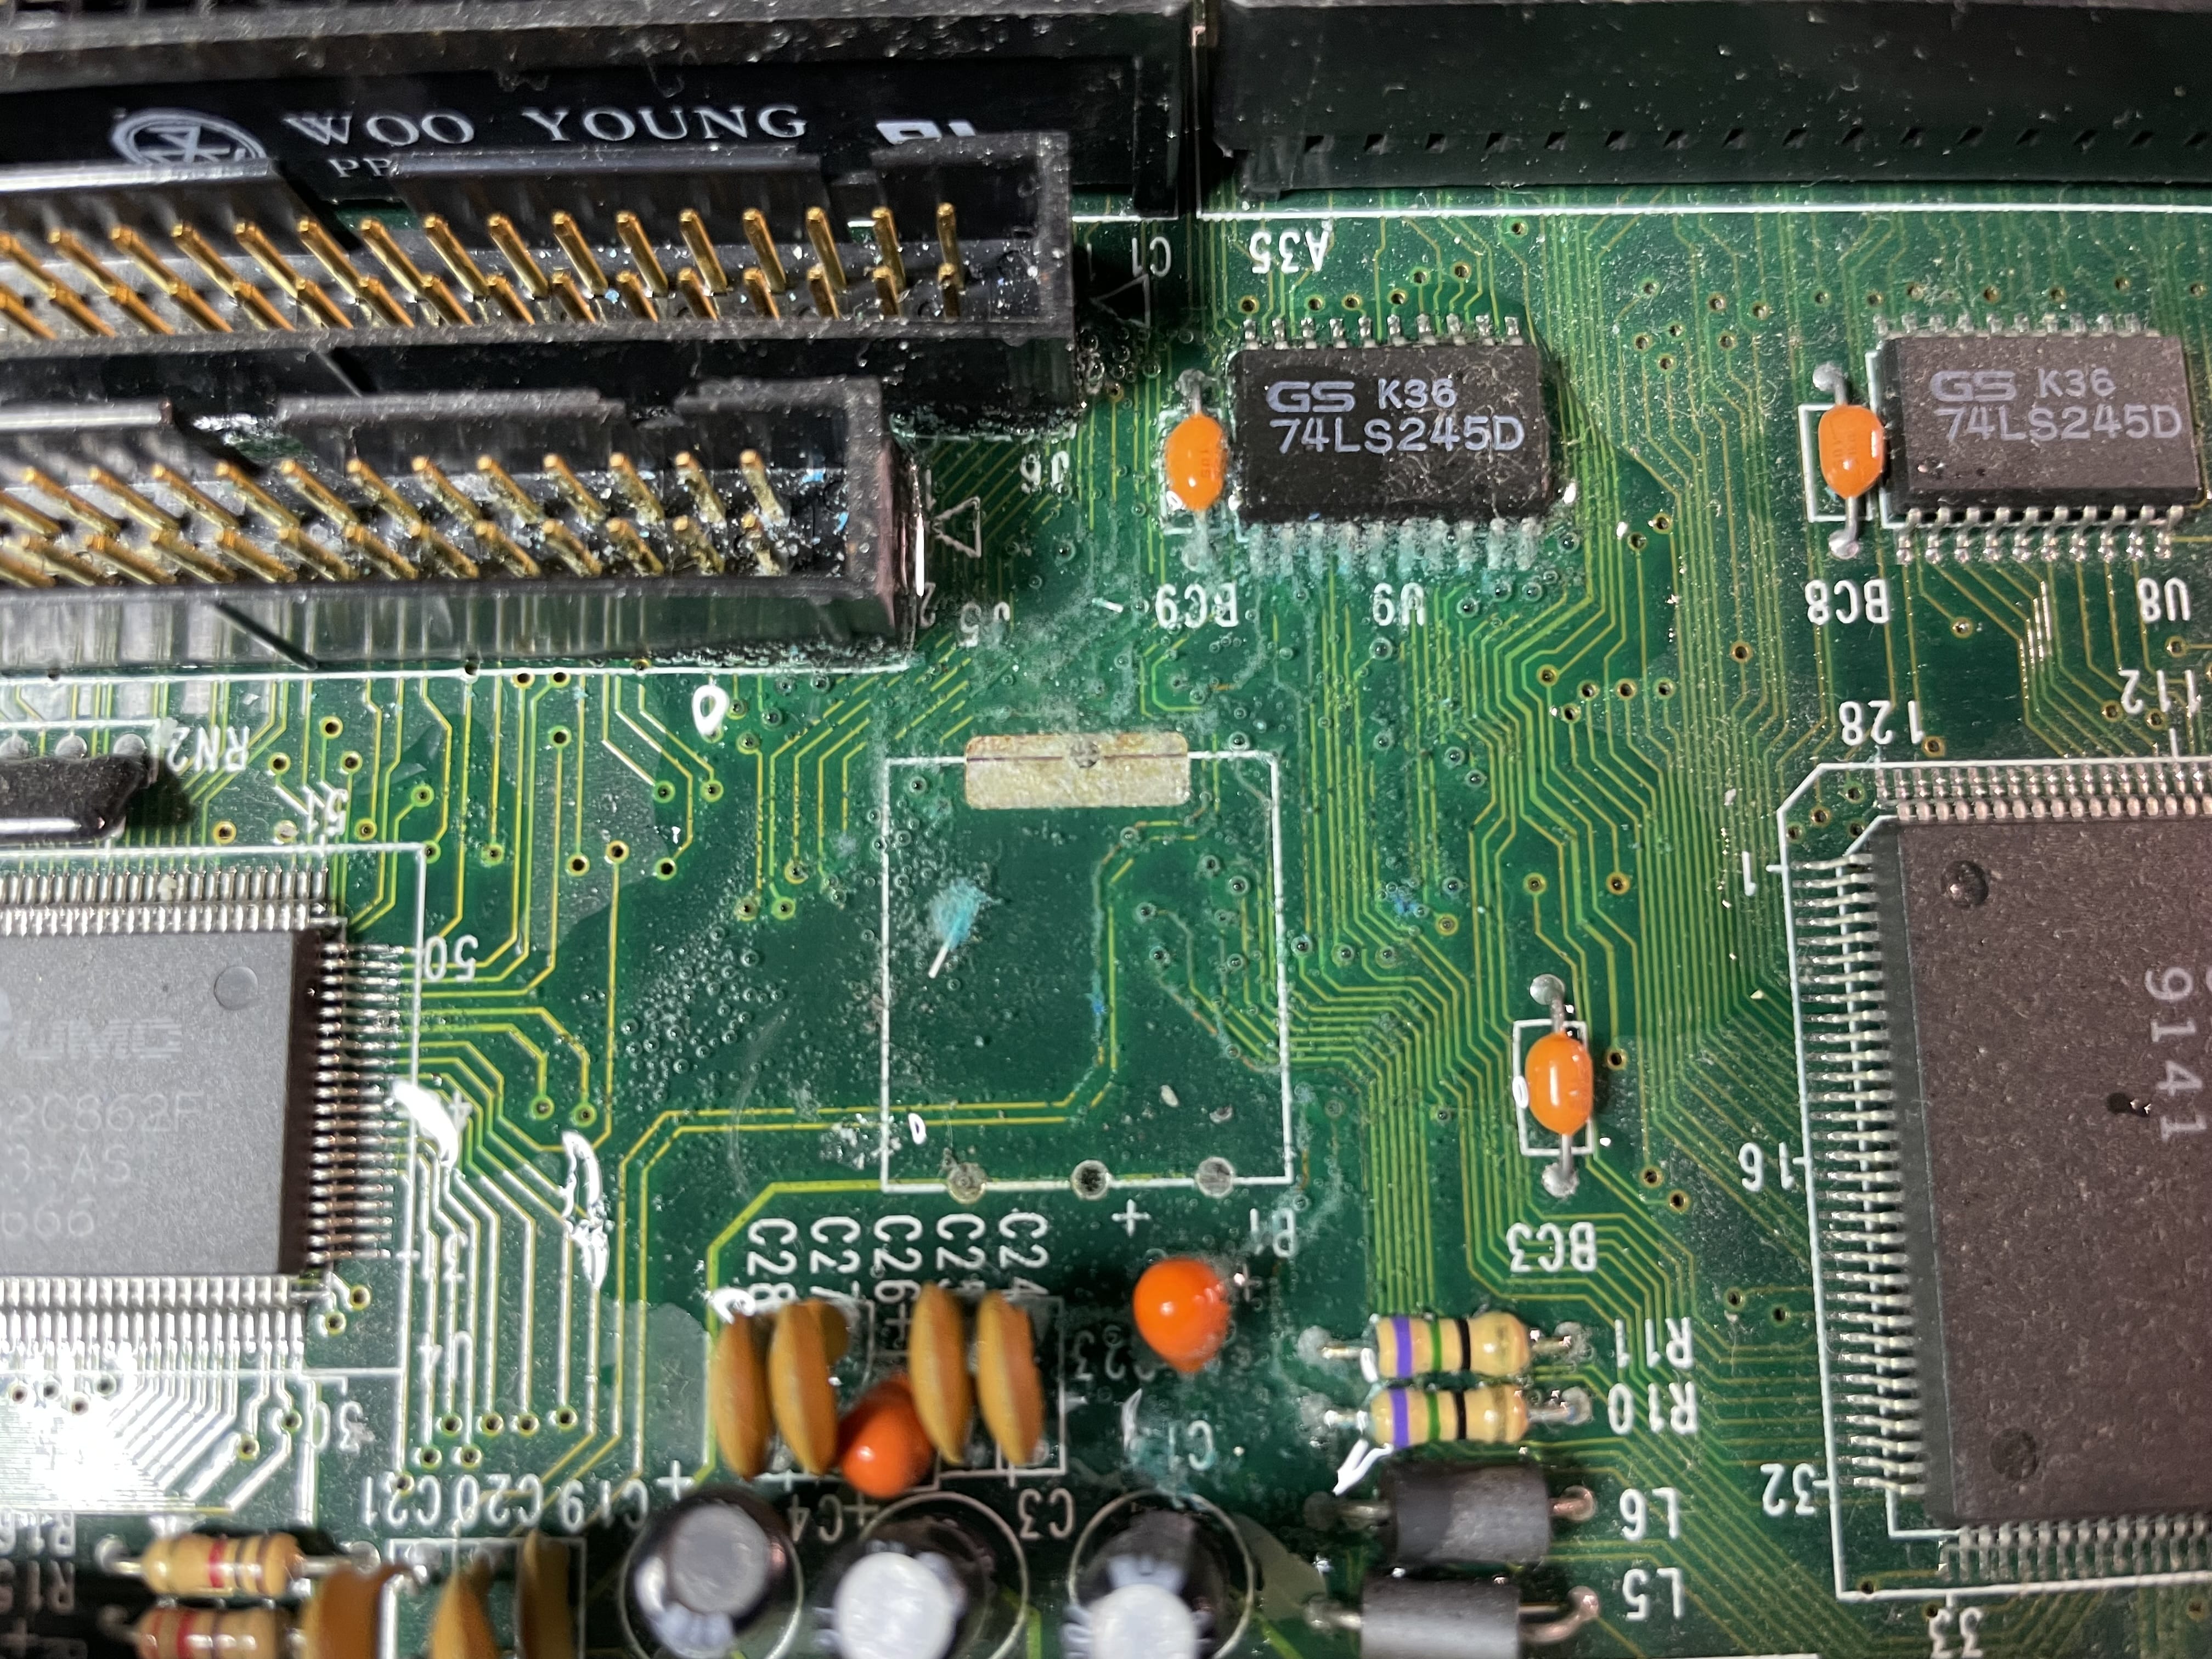
Opening the case confirmed what I had expected to see when purchasing this machine to begin with. Sure enough, there was a Varta rechargeable NI‐CAD battery soldered to the motherboard that had leaked electrolytic fluid all over the board. |
|
|
|
So begins the restoration with step one: tearing down the machine and removing all components from the case. After removing the motherboard from the case, the battery was cut off and white vinegar applied to the surrounding area that had been affected by the battery's electrolytic fluids, neutralizing the damaging battery contents with an acid. |
|
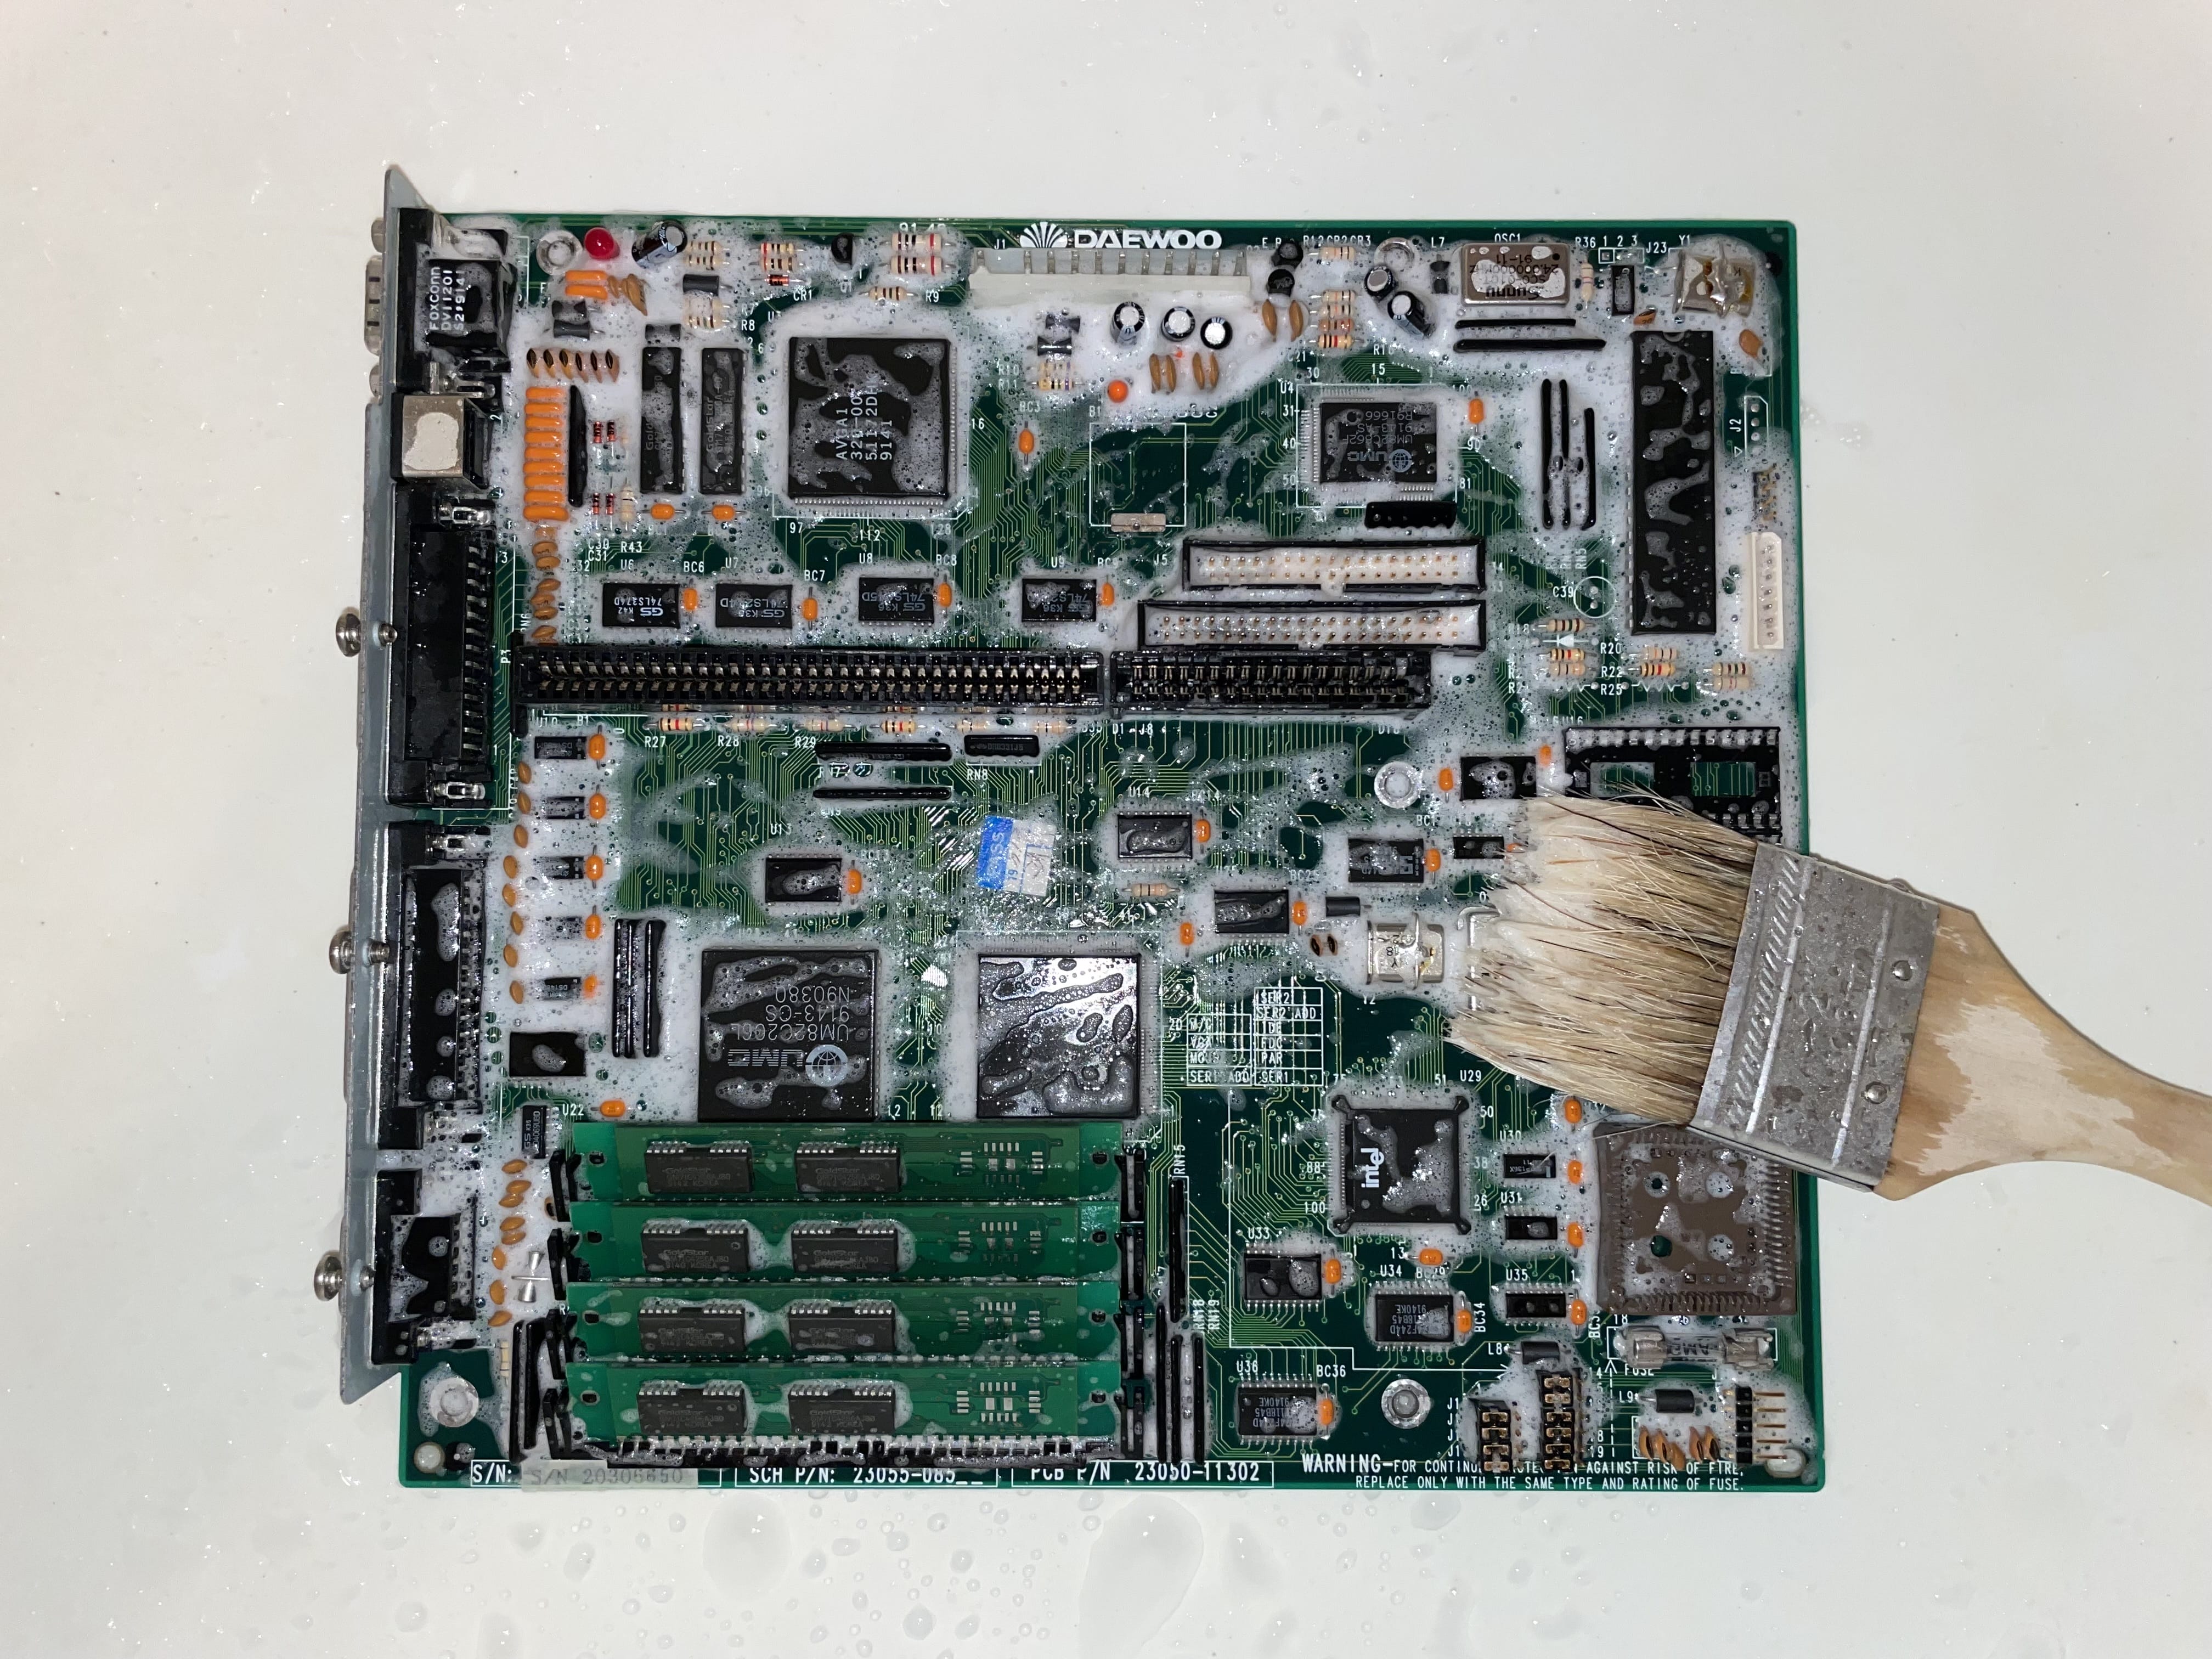
After allowing the white vinegar to sit on the board and neutralize the electrolytics, the board was thoroughly washed with soap and water to remove any remaining containments, vinegar, and dust. IP Alcohol was then liberally applied to the board to displace as much water as possible and then placed in front of a fan on high for 24 hours. |
|
|
|
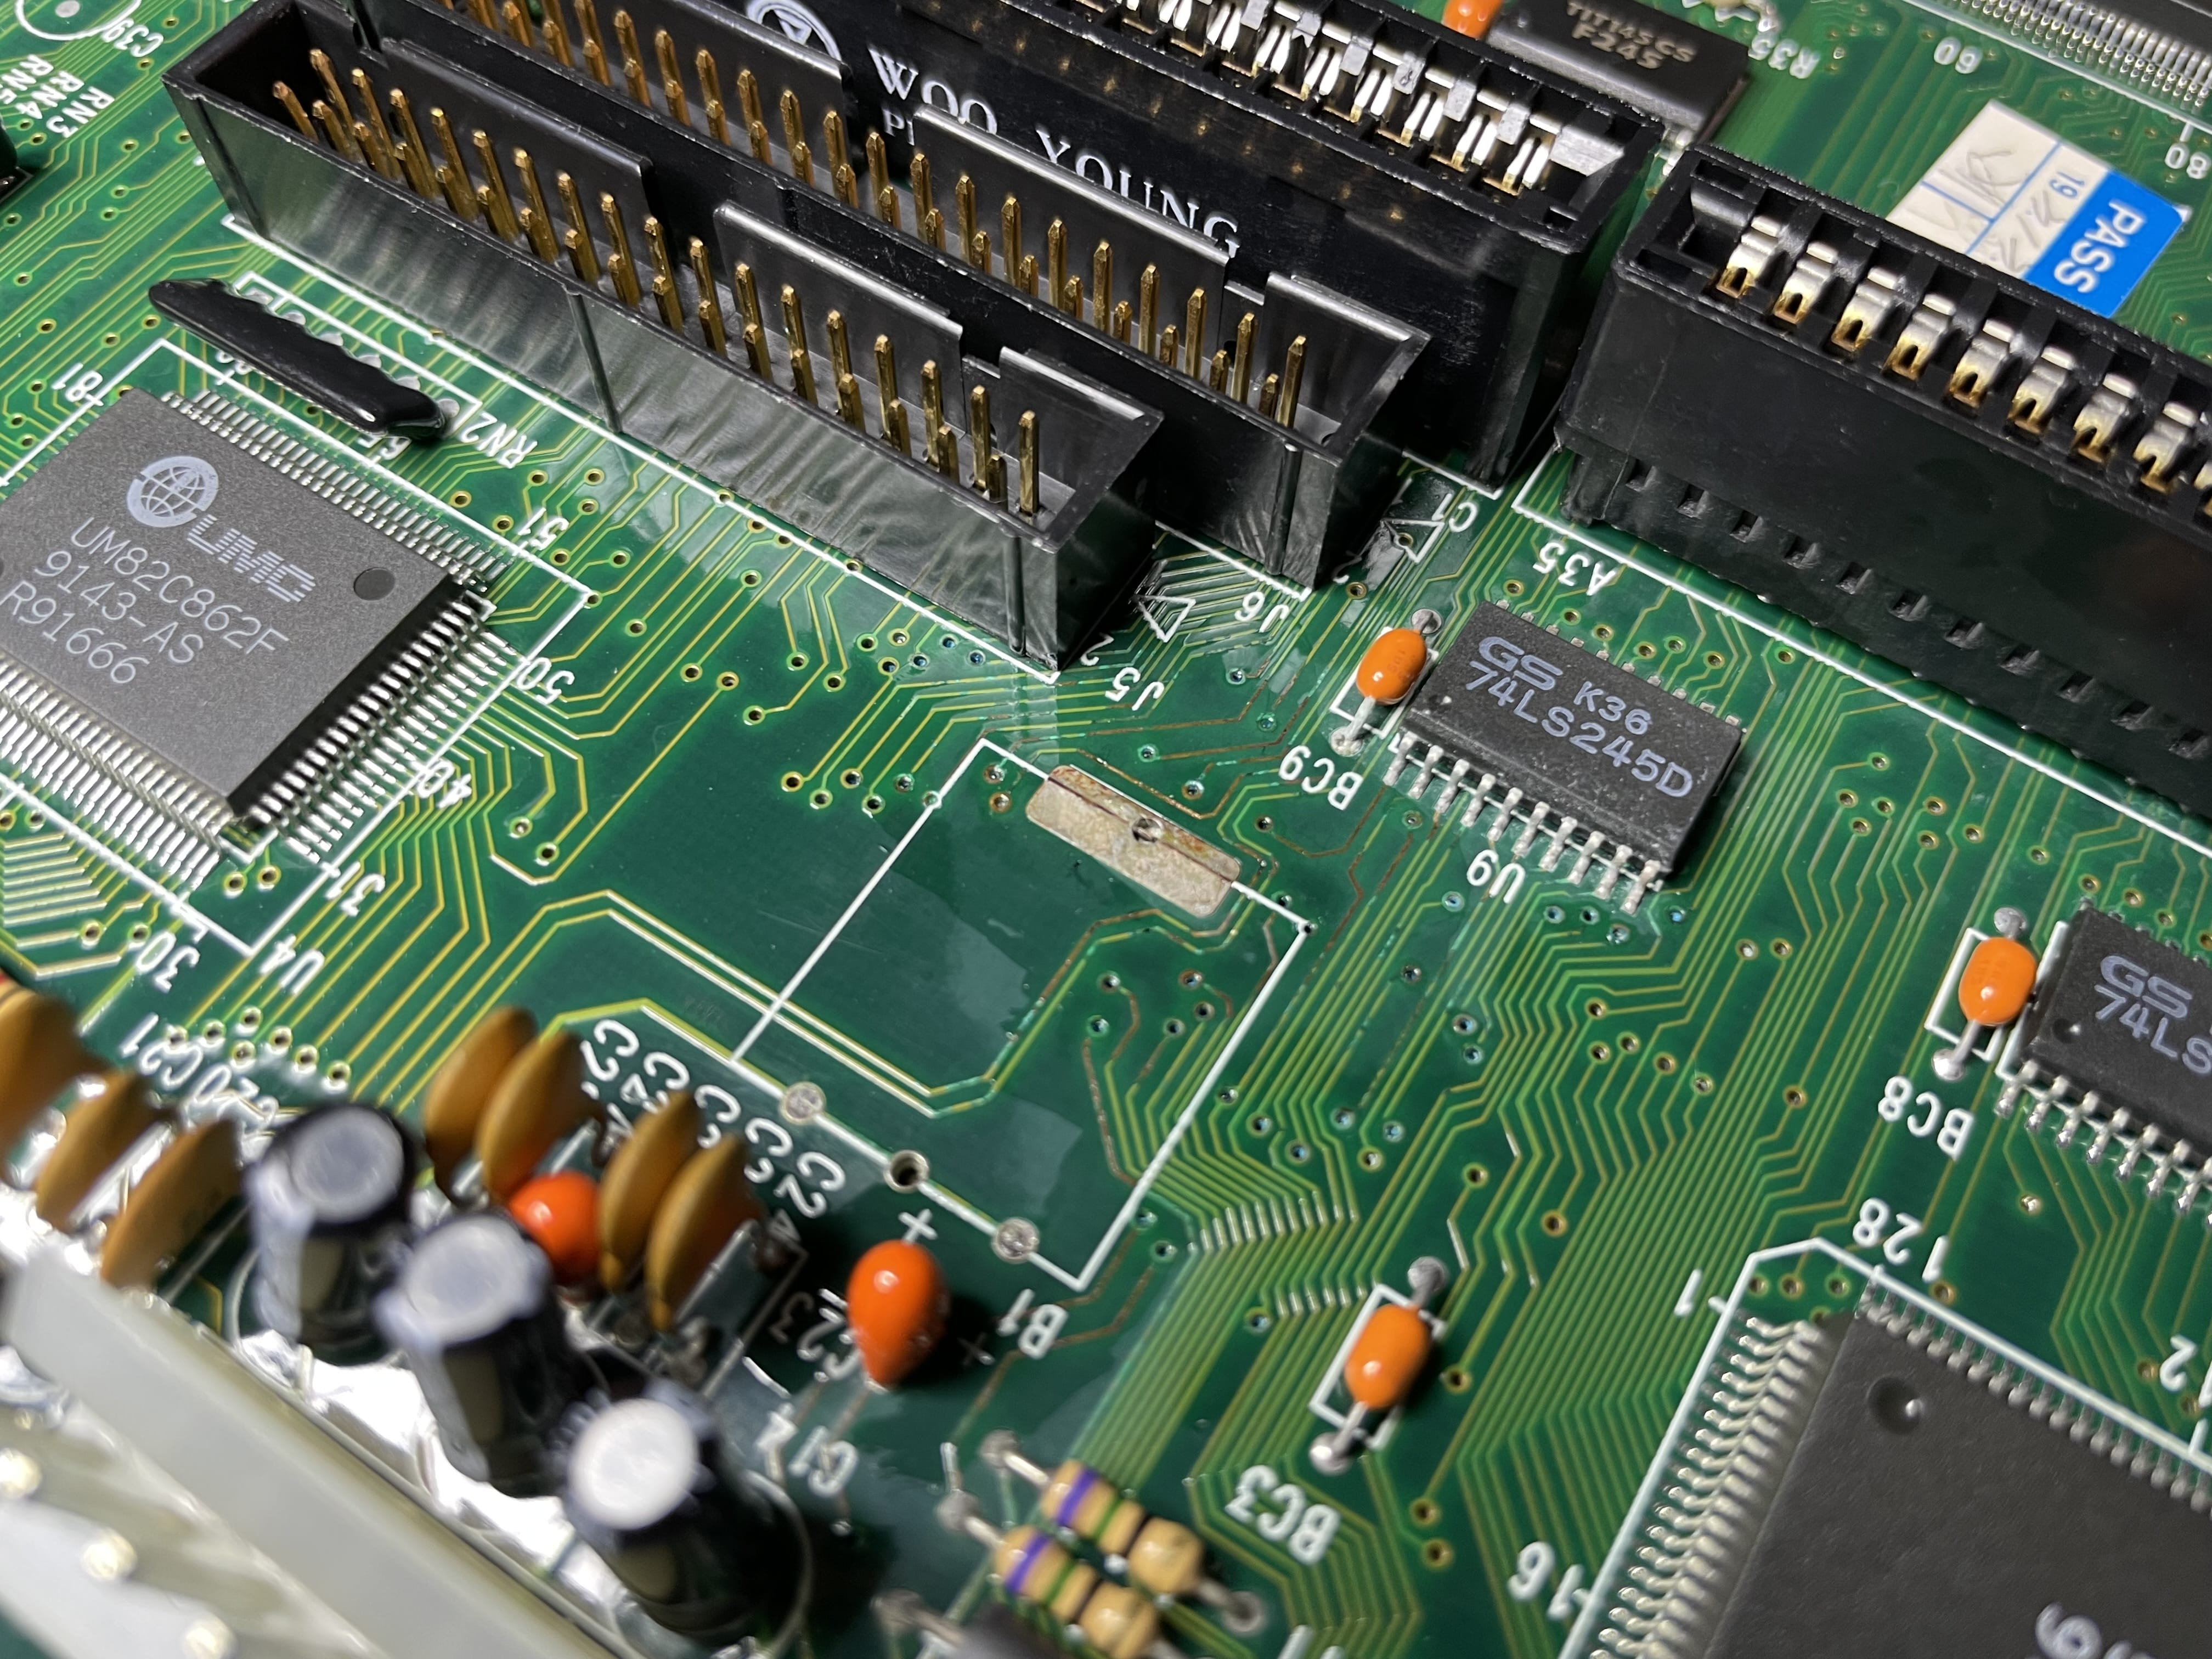
Once the board was thoroughly dried, it was taken to the workbench for a thorough examination under the microscope with particular emphasis on the areas affected by the battery leak. A cursory examination showed less damage than expected but there was still the need to check for continuity on all traces that showed evidence of corrosion. Incredibly, none of the traces were broke. There was certainly some corrosion that had occurred on many of the traces and to remedy potential future issues, the solder mask of the affected traces was scraped back, the traces tinned with solder, and a fresh solder mask applied. |
|
Though none of the traces were broken, the computer was still not posting nor was it displaying anything onscreen. After some fiddling about with a discrete video card, it was noticed that with a discrete card plugged into the ISA bus but the monitor still plugged into the on‐board VGA socket, the computer was now displaying an image. The computer would not display an image without a discrete video card, nor would it display if the monitor was plugged directly into the discrete card; only when both the card was present and the monitor plugged into the on‐board VGA. I was a bit confused by this, but pulling the on‐board video ROM showed corrupted data. Although this isn't the most ideal "fix", it does get the machine up and running. Unfortunately finding another ROM for a similar machine will be very difficult but it will be a task that I will keep in mind if I happen to come across an opportunity. |
|
|
|
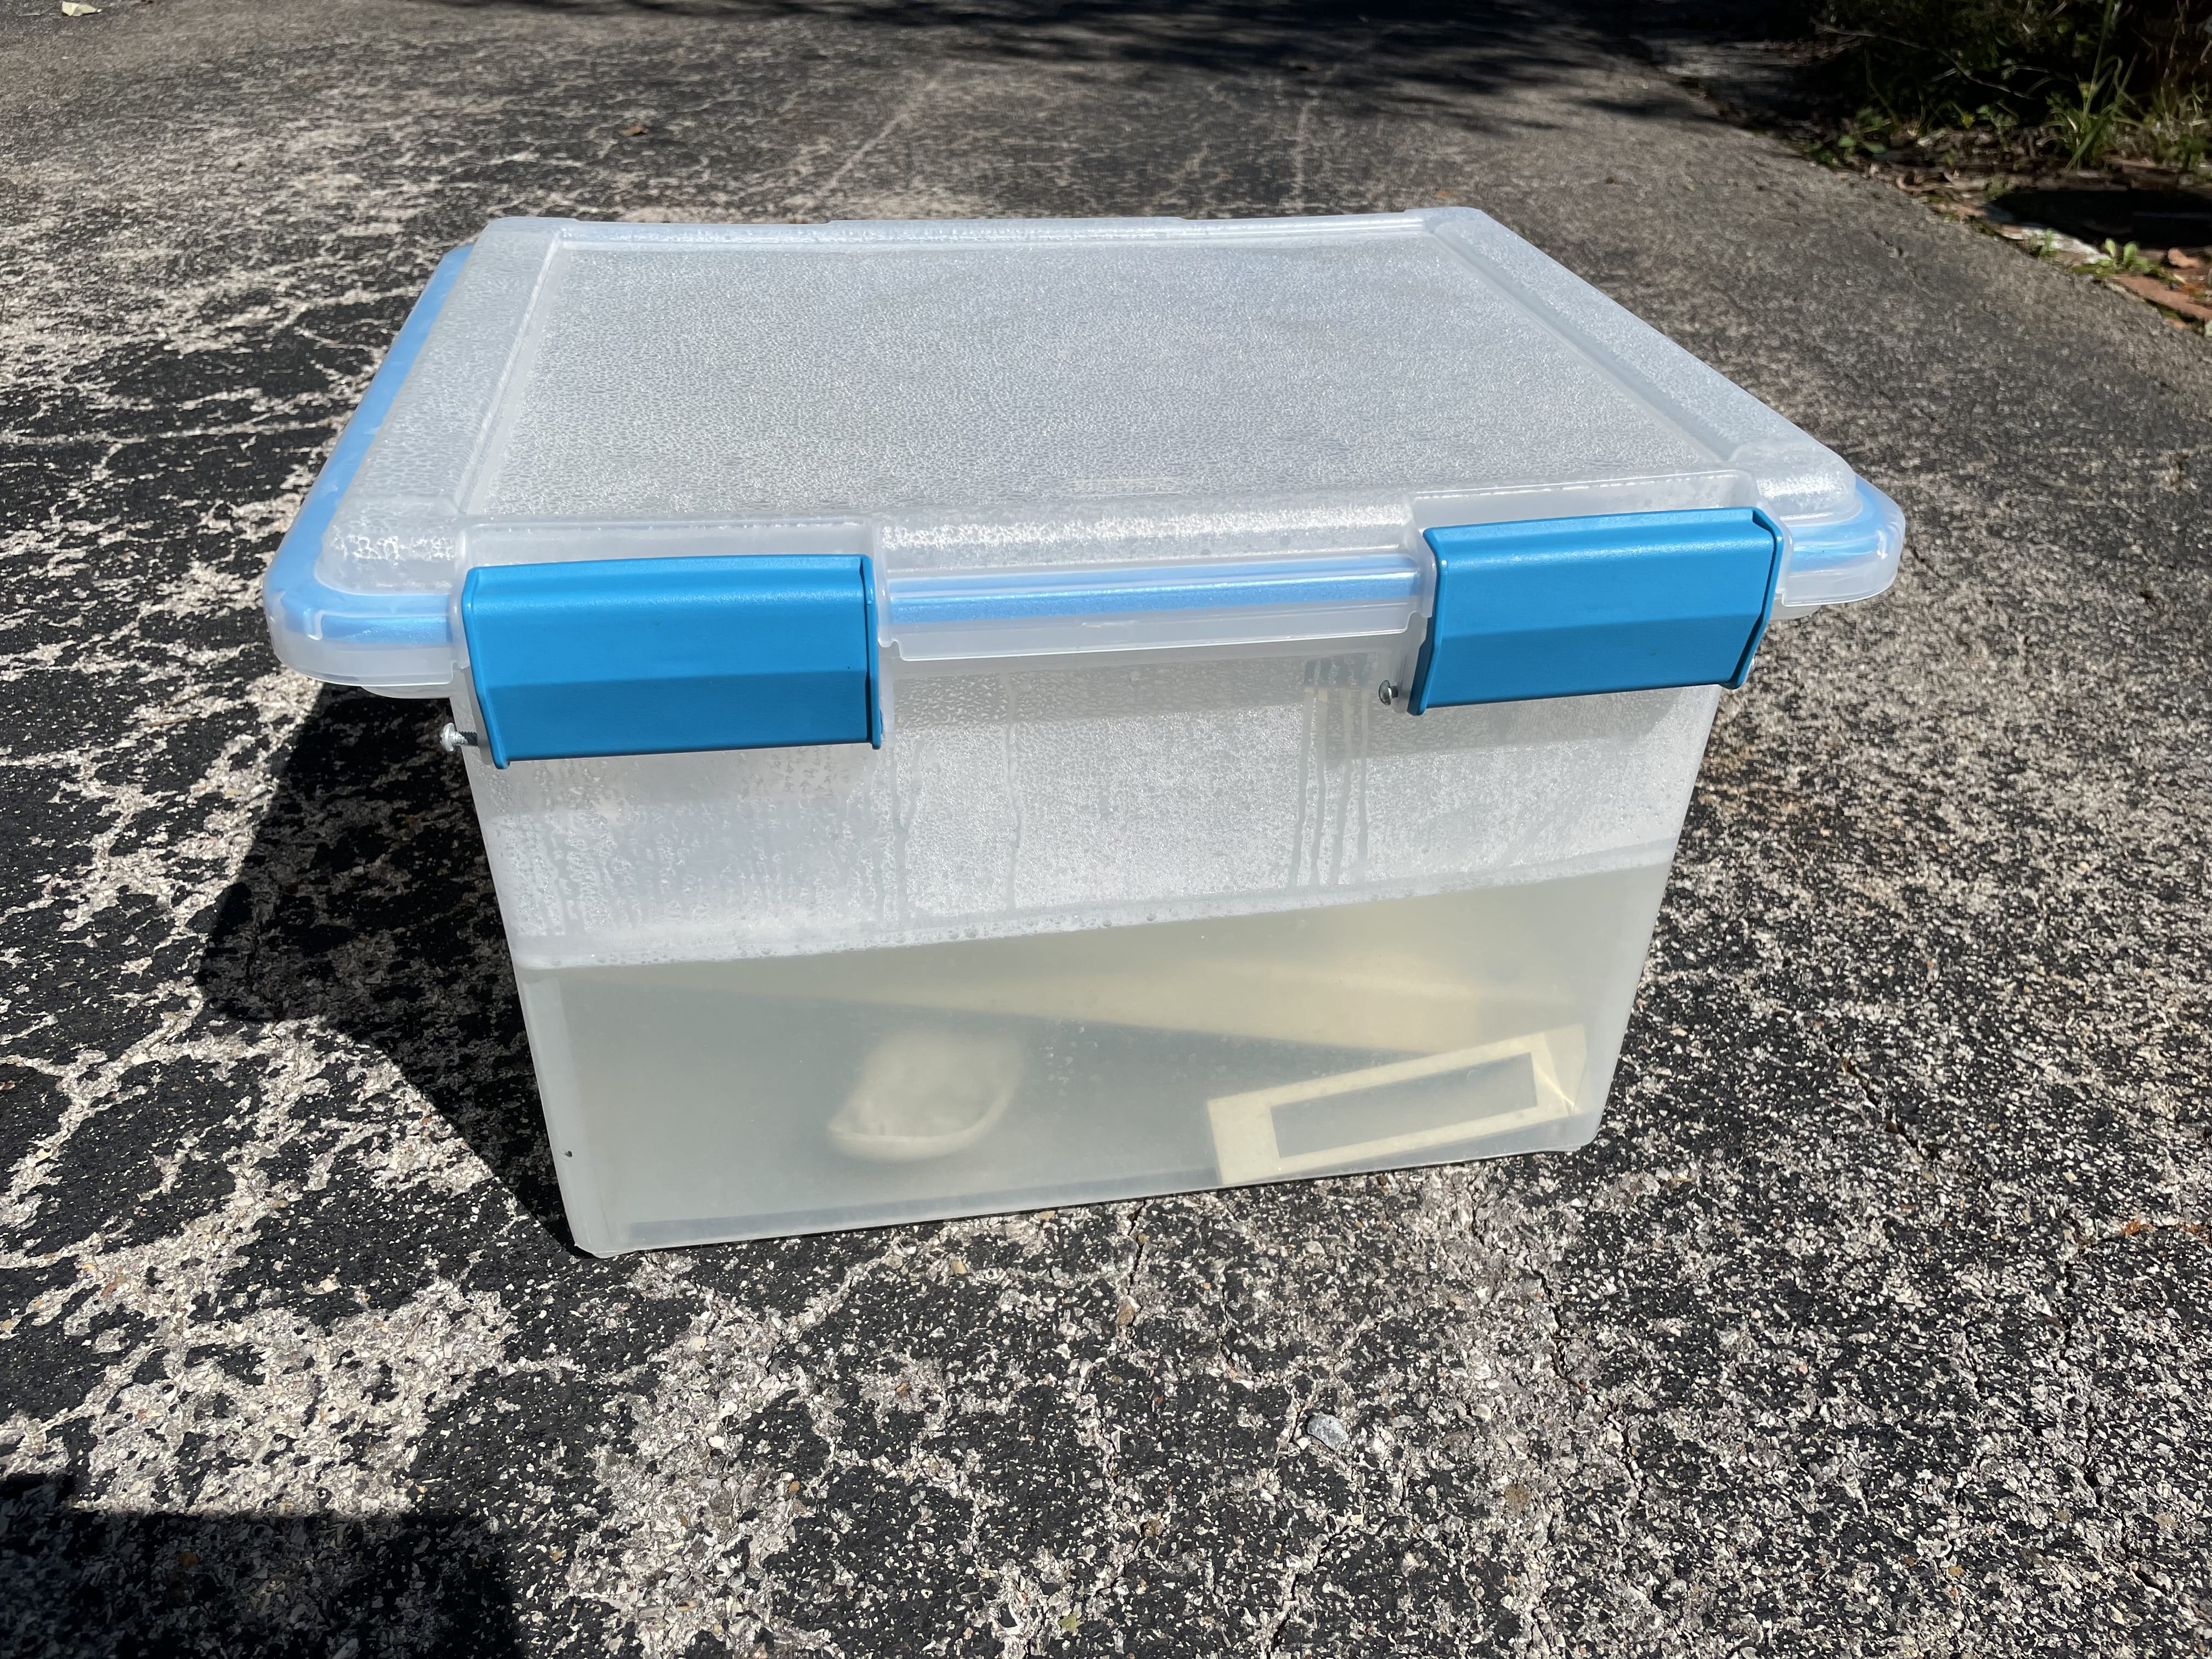
Next it was time to turn my attention to the yellowed plastics. I used my usual method which involves removing and cleaning the plastics, inserting them into a clear tote, filling the tote with hot tap water, dumping an unmeasured amount of OxyClean into the tote of hot water, and then setting the tote with all the plastics to be treated out in the sun for about four hours. Once the four or so hours were up and the sun had lowered enough that I couldn't find any more viable sunny areas, the plastics were removed from the tote, brought inside and cleaned again with soap and water to remove the OxyClean residue from the plastics. The plastics were then toweled down and set in front of a fan to dry off. |
|
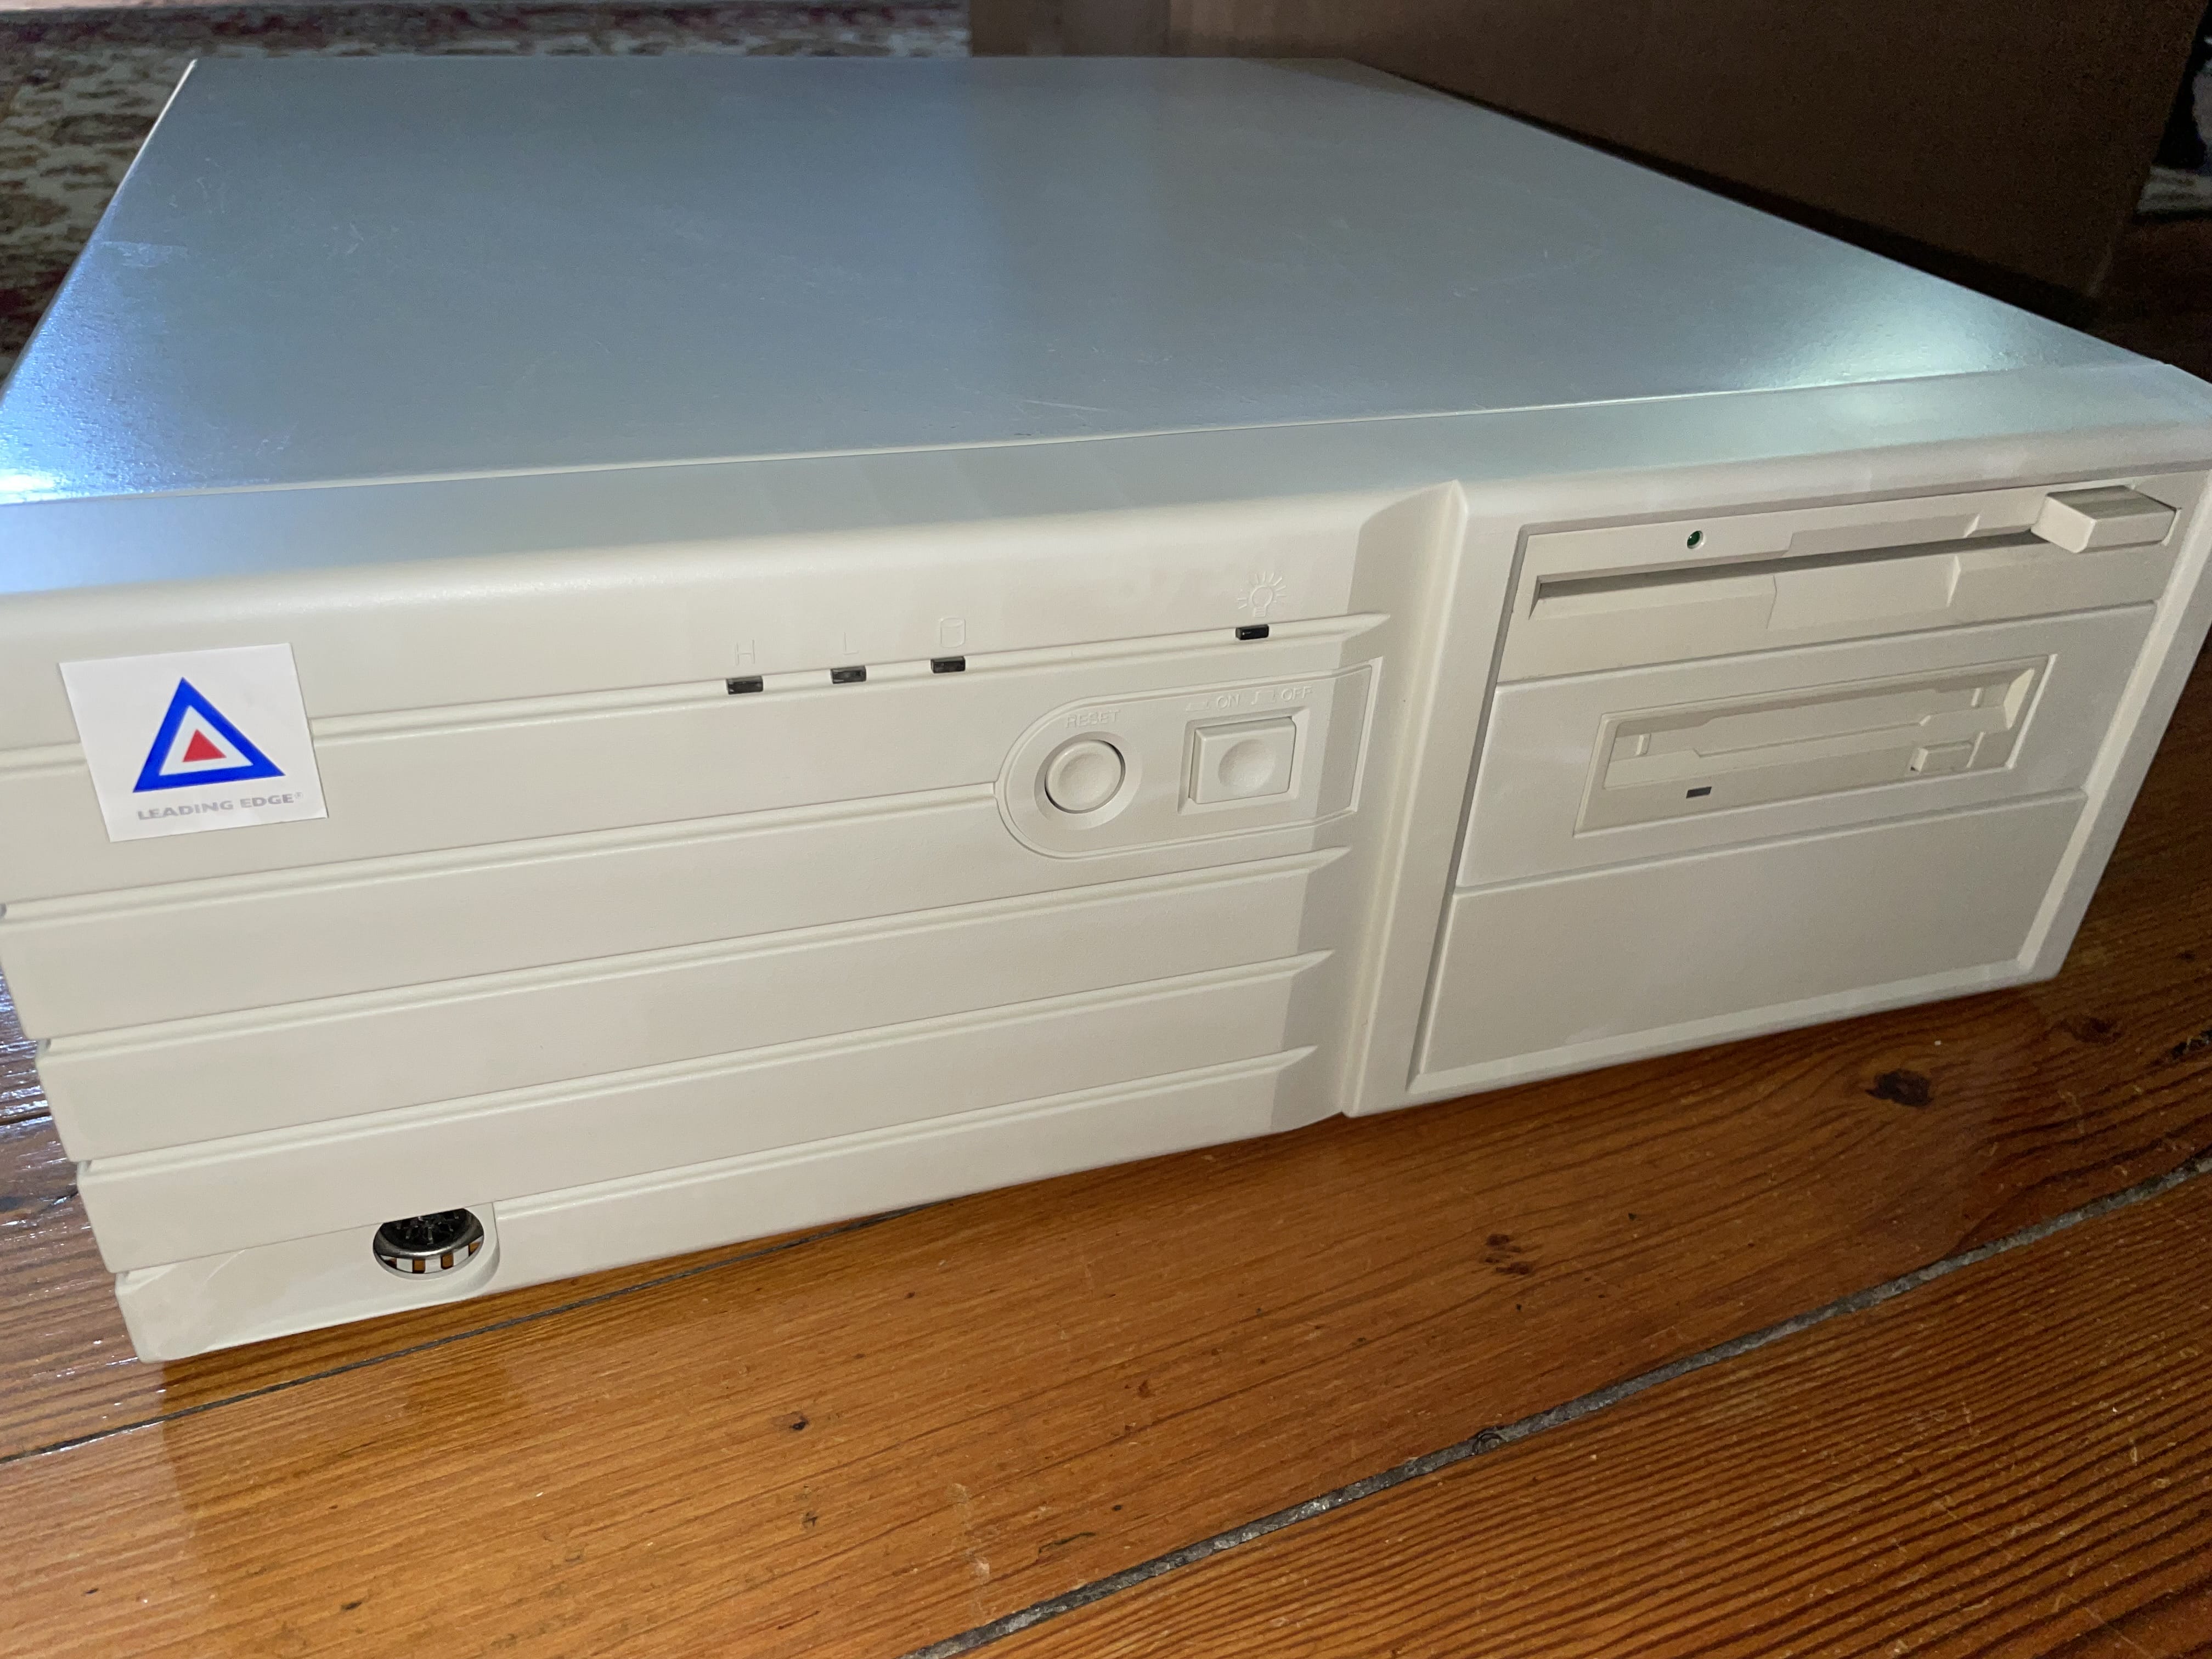
Now that I had clean and freshly retrobrighted plastics and working computer internals, I reassembled everything to add to the collection. The photo to the left shows the final restored machine shining like a new computer out of the factory. |
|


